Unit 4: Collage Portfolio
As was intended to cover two more areas of graphic communications, but was not reached as students needed more time to complete past to current projects, the culminating will also be modified to support what has been covered already in course. For this reason, a collage of work completed in a creative manner will be designed and transfered to the back of a T-shirt (souvenir) for students to keep for themselves or use as a gift.
Course Units and Descriptions
Use this table for an overview and navigate to each of the course unit pages.
| Unit | Description |
|---|---|
| Review course outline for more details | |
| 1 | Graphic Design & Production- design, create and modify illustrations using a vector design software |
| 2 | Image Production & Processes- design, create and edit photo images using raster design software |
| 3 | Audio Production & Special Effects- create, manipulate and add audio effects for general media |
| 4 | Collage Portfolio- design and create a collage for marketing yourself |
Unit Content Activity Quick Links, Click to Jump to Specific Activity!
 Unit 4, Act. 1 Wearing Your Creative Collage Portfolio

Situation:
This Com Tech course is almost finished and we have one last project to work on. This project will allow you to showcase all of your work in a fun, but skillful level of artistic design. Having a T-shirt clam transfer iron, and some white cotton, school crested T-shirts on hand we are able to transfer standard page sized custom graphic designs onto the them.
Problem/Challenge:
Design and create a framed collage using all your completed work from this rotation, a minimum of three images of yourself, and text showing "Western" and "Com Tech" in western green. Here is a list of details that are required to be included:

- Setup with a standard print in landscape 8.5 by 11", 200 pixel resolution, and CMYK colour mode
- Use guides to show 1/4" print margin, and a 1" grid
- Choose 5 to 6 class projects to showcase about 10 to 15 percent of the total space
- Minimum of one self image shoulder height also 10-15 percent of total space with possible, waist, and full body height shots, with the face-shoulder image to be your glamor improved shot
- Boarder to frame in collage is required not to use square-rectangular sharp corners, but take up 90 plus percent of work space
- Text to show/stand-out with "Western", 1 inch high at the top, and the text "Com Tech", 1/2 inch high at the bottom, both in green (#009900)
- Your first name also to show with 1/2 inch text height in a colour of your choice, that compliments your collage
- Masks, adjustments, opacity/fills, brush, pen, and filters to be used in generally and on multiple image components of your collage
- Accent graphic accessories about 5 percent of total page to be used to support your collage with a minimum of 2 different types which may be illustrative, pictorial, clip art, and/or custom made from scratch
- Bring in two personal interest photo images no more than 10 percent of page to work into your themed collage
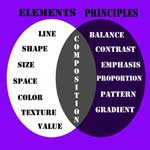
The collage is to show a consistency of complimentary colours and graphic theme showing your work, you and your interests. Keep in mind the Elements and Principles of Design we covered earlier in our course, so that you finish with a pleasing composition collage taking into account the:
- Elements of Design- lines, shapes, sizes, space, colours, textures, and values
- Principles of Design- balance, contrast, emphasis, proportion, pattern, and gradients
Investigation/Ideas:


You will need to organize and gather all of your graphic projects done throughout the rotation. Hopefully you have kept them organized in appropriate folders to easily find. The following projects will be needed:
- Onomatopoeia
- Logo colour and black & white versions
- Dreamhouse
- Tourist
- Web page background
- Movie poster
- Your full face image
Making a sketch can help you decide on how, what and where you place your images. Using Photoshop's tools properly can save you time and get excellent results. It is recommended to review the tools we have used to cut out, place, overlay, combine, and blend all of your images together in a consistent designed theme.

Photoshop Tools Used
Being familiar with most of the different tools, using the keyboard shortcuts will allow you to access those tools faster. Here is a graphical view of some of the more common keyboard shortcuts which should be more helpful throughout this project. Using shortcuts can streamline your work process and more fluent with your creative design.
Below are a list of major tools we have used and their keyboard shortcuts:
- Move Tool (V)
- Marquee Selection (M)
- Transform Selection
- Lasso Selection (L)
- Quick Selection
- Magic Wand (W)
- Crop Tool (C)
- Slice
- Eyedropper(I)
- Color Sampler
- Ruler
- Count
- Healing (J)
- Brush(B)
- Pencil
- Clone Stamp(S)
- History Brush(Y)
- Eraser(E)
- Gradient
- Paint Bucket(G)
- Blur, Sharpen
- Layers
- Blending
- Filters
- Grid
- Guides
- Adjustments
- Transformations
- Masks
- Image size
- Canvas sizing
- Type text (T)
- Pen
Resource Links
A collage can be very creative and with Photoshop tools and some creativity, your collage can look amazing. Take a look at some samples of collages and different ideas on how you can design your collage with course work created:

- Quick-&-Easy Collages
- Create a Collage
- Make a Collage

- Multiple Images
- Framed Collage
- Flickr PS Collage
- Collage Gallery
- PS Collage Gallery
- Memory Collage in PS
- Image Feathering
- Create a Collage
- Collage Effect
- Combining Images
- 45 Collage Tutorials
- Smart Objects
- Basic Heat Transfer
- Detailed Heat Transfer
Tips to Keep in Mind:

- As this will be a cloth print production, ensure that your setup is at 200 dpi, if you are bringing in a lower resolution (most likely 72 dpi) image into a higher resolution image, it will be a lot smaller to compensate for the larger resolution
- Stay away from white in your images if possible, as white gaps (means no colour transfer) which will leave a slightly yellow glue residue on your T-shirt in those areas
- Experiment with non-volatile multiple-layer colour-blend-effects by using the the following shortcut - select your layer (layers below will affect selected layer different ways) have Move tool selected, hold the shift button, then use the + or - tool to rotate through all of the blending modes available
- Focus on three theme colours, a consistent theme look, and layout
- Use guide lines and the grid to create patterns and space out your different images
- Remember that although you want to make things look a little different and better, don't go too far that you can not recognize the original images
- Create a 1/4" print margin around the outside edges, as printers can not print to the edge of the paper
- First T-shirt wash, wash in cold water only, note this iron-on printing process results in being a little less durable than silk screening - so take care of it
- If you Place images from original PSD Photoshop files, they will be automatically become a smart object by default. Smart objects retain original maximum resolution during re-sizing (advantage), if you want to modify-edit image pixels, you will need to Rasterize the Smart Object in the Layer menu first
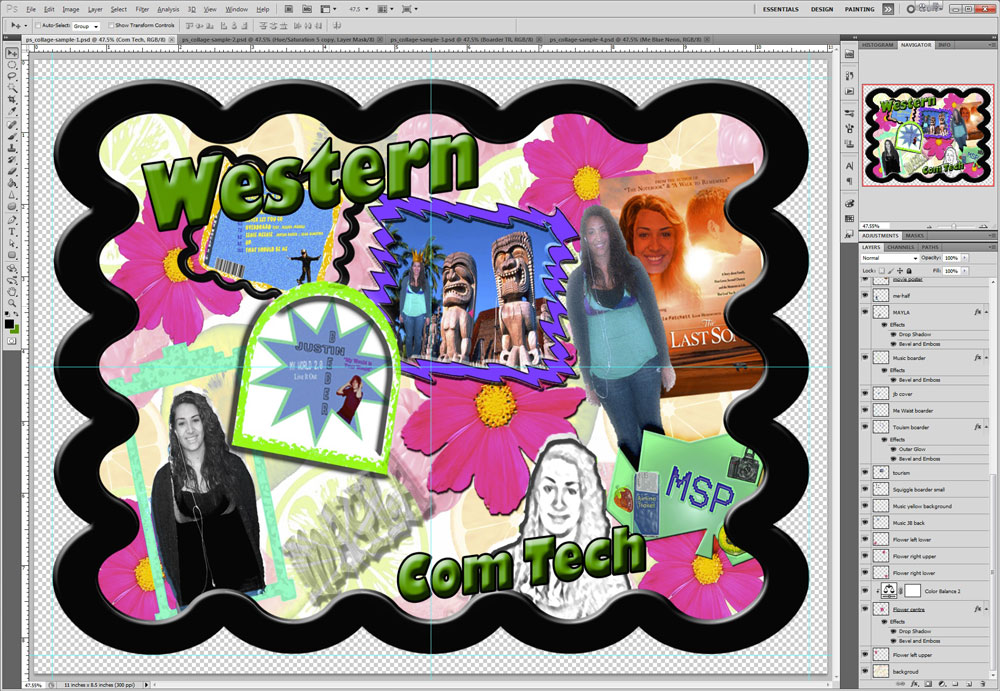
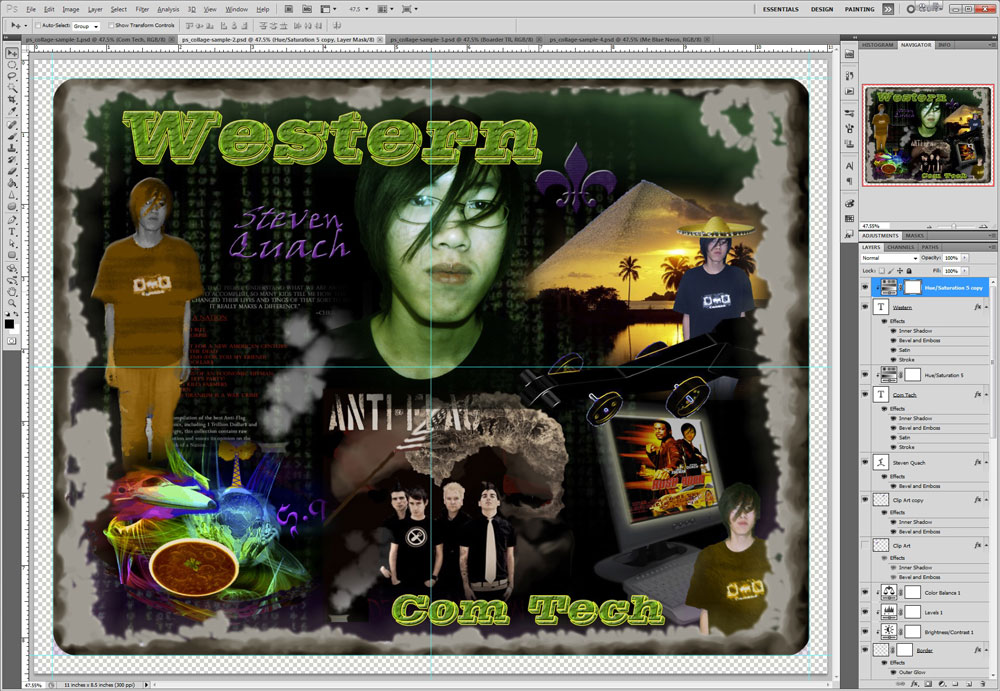
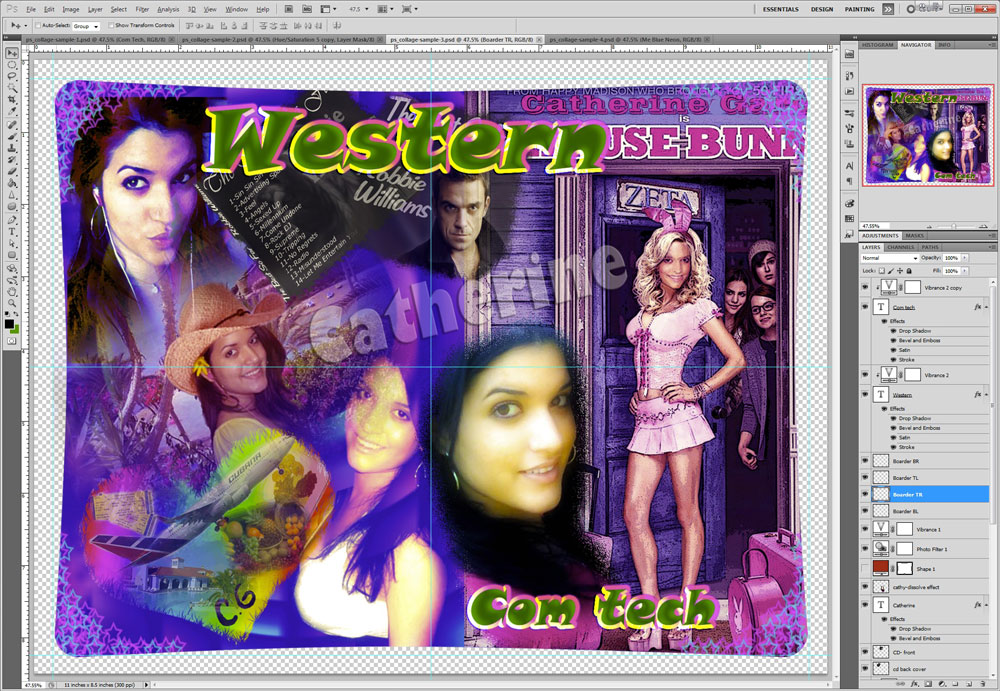
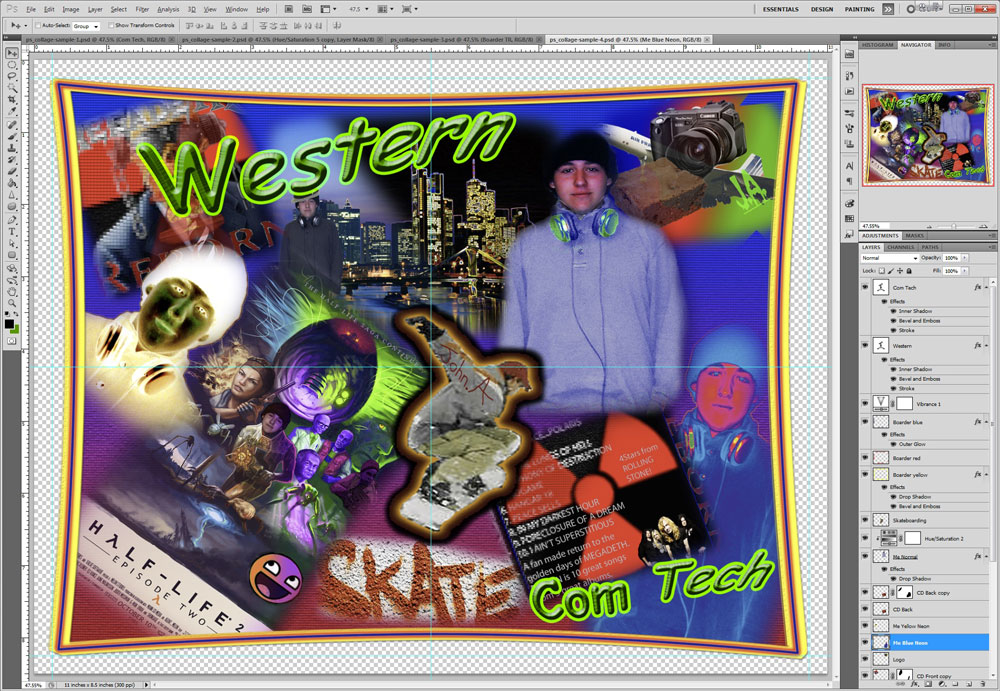
Student Samples
Below are some student collage samples done in the past depending on the projects that were done in the previous projects:
Sample 1
Sample 2
Sample 3
Sample 4
Some things to notice in the above examples are:
- different shaped borders, maxing out original size
- Colourful and themed
- different blending options
- multiple adjustments to the same image to show different effects
- emphasis on highlighted projects
- layered images
- images at different angles
- same image with different versions of adjustments, effects, and blending
- copies of the same image showing different effects, adjustments, and blending
- Added effects
- general textures
- text that "pops"4
- student glamor shots (edited to look like a movie star)
- boarders with depth
- masks used to blend from one image to another
- student names don't overpower and subtle
Create/Construct:

Use the following steps to create your custom T-shirt collage design:
- Take a look at sample collages, get some ideas on how to make one and different possible layouts
- Open up a new Photoshop file, and set-up for letter sized , landscape, 200 dpi, transparency, select CMYK for print medium, then turn rulers on and set to inches
- Create 1/4" print margin guides, centre guides, set-up grid to inch with subdivisions every 2 (Turn on through menu - Edit >Preferences>Guides, Grids, & Slices, then go to View>Show>Grid)
- Create your required green (#009900) text - Western about 1 inch high at the top and Com Tech about a half of an inch near the bottom of your layout
- Keep your layers organized with appropriate names, duplicate and lock important ones that you will experiment with or need a copy of.
- Get all your project images, and 3 of yourself -shoulder, waist and full body shots into your project image file ensuring appropriate size. Too small will pixilate giving you poor image quality to work with. Standard files in JPG/GIF at 800-1000 pixels@72 dpi will work, or use File > Place for smart object insertion.
- Create a custom unique boarder and background making sure the boarder has no sharp corners, but uses 90% of page set-up. Ensure you use your guidelines and keep a quarter inch print margin
- Reshape, re-size, rotate, overlap, and layout your images as needed
- Mask, soft/hard brushes, use adjustments, filters, layer blend effects, etc on your images/layers to get your desired effect/look
- When close to finish, get peer feedback and make adjustments. Once you are finished check with instructor
- Prepare for T-shirt print by flipping your image horizontally (giving the mirror image) using the transform tool and save in PSD 200 dpi and the jpg for evaluation and will be printed to specialized paper to transfer to T-shirt
- In class, we will print your design to a selected size of small, medium, or large sizes for you to take home.

Step 2
Initial Set-up

Step 3
Units and Rulers

Step 3
Guides, Grids, and Slices

Step 3
Set-up done
 text - Western about 1 inch high at the top and Com Tech about a half of an inch near the bottom of your layout")
Step 4
Title Text Entries

Step 6
Projects and Portraits

Step 7
Non-Rectangular Boarder

Step 8-10
Finished Prior to Flip
Evaluation:
This project will be evaluated on completion of all steps, and requirements. Final image to be handed in PSD and JPG (200 dpi) formats.
| Evaluation Breakdown Component Descriptions | Marks |
|---|---|
| Always double check that you have completed all components for full marks. | |
| Text - "Western", "Com Tech", and your first name, - size, contrast, colour, and prominence | 5 |
| Images - all project images, self portrait(s), accents, 2 personal | 20 |
| Boarder - framed in with a themed boarder with no sharp corners, minimum 90% of page size | 5 |
| Background - custom, unique, and consistent with theme colours blending all images | 5 |
| Technical- layers named, masks, adjustments, layer styles, filters, complimentary colours | 5 |
| Overall Design - Colour, style, theme, consistency, blending of images, and overall look | 10 |
| Total Mark | 50 |