Exploring Technologies
Gallery Quick Links Contents, Click to Jump to the Specific Album!

- Room 165-66 Facilities
- Faulty Towers
- Wood Practice
- Co2 Dragster Build, Finish, and Race
- Bridge Building in Action
![]() Use blue UP arrow
Use blue UP arrow ![]() to come back up to top of this page for easy quick navigation.
to come back up to top of this page for easy quick navigation.
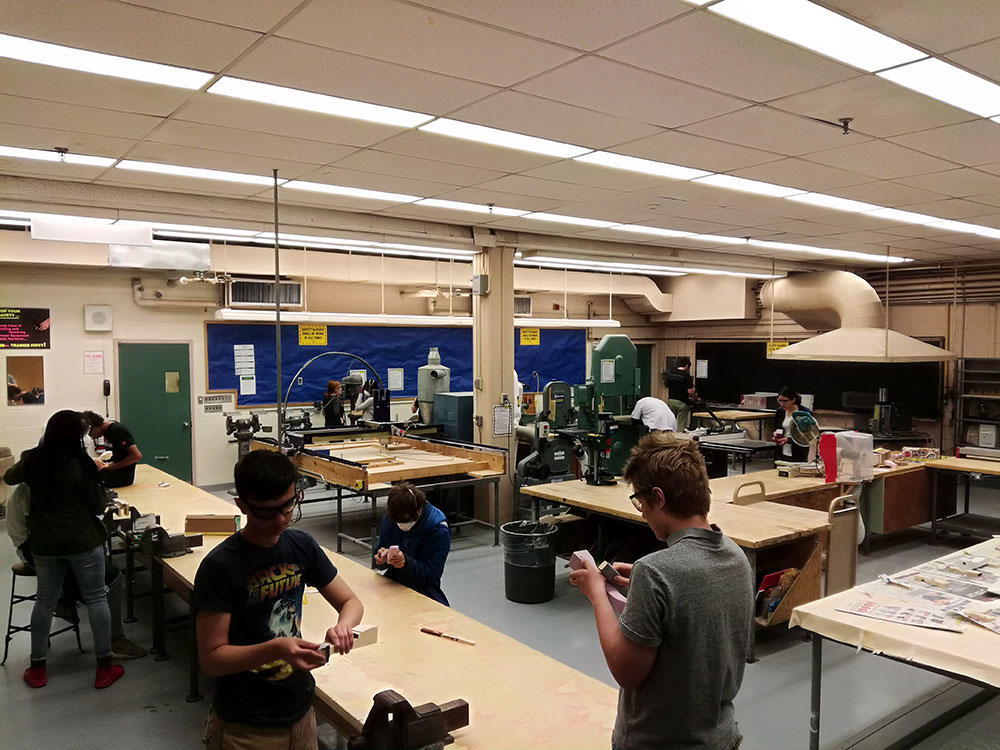
 Room 165-66 Facilities
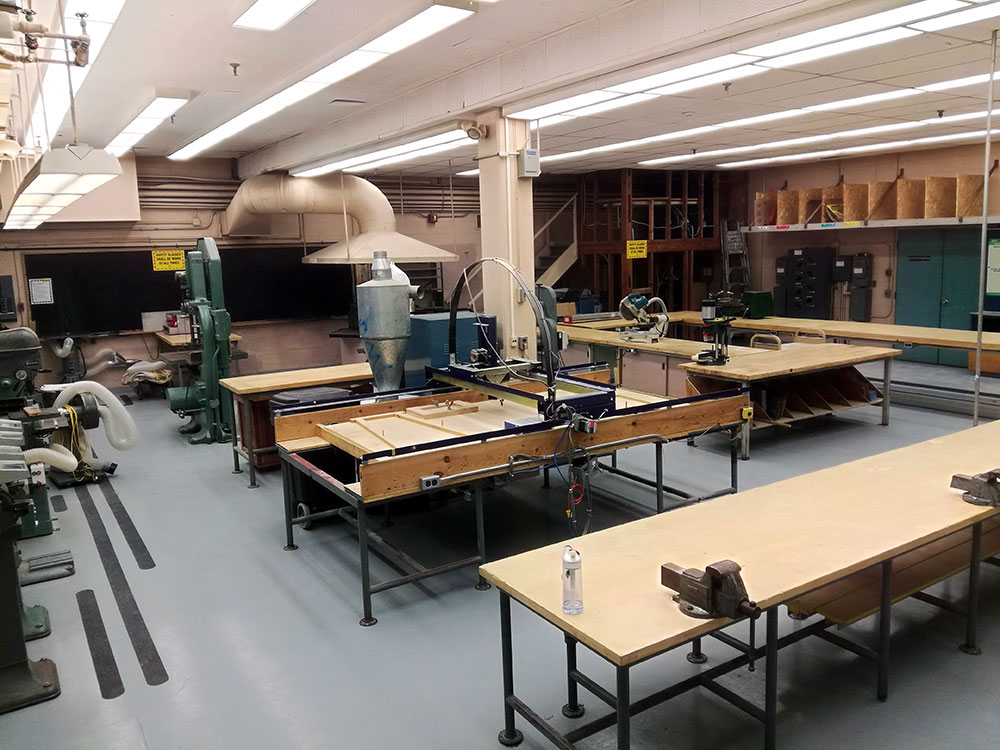
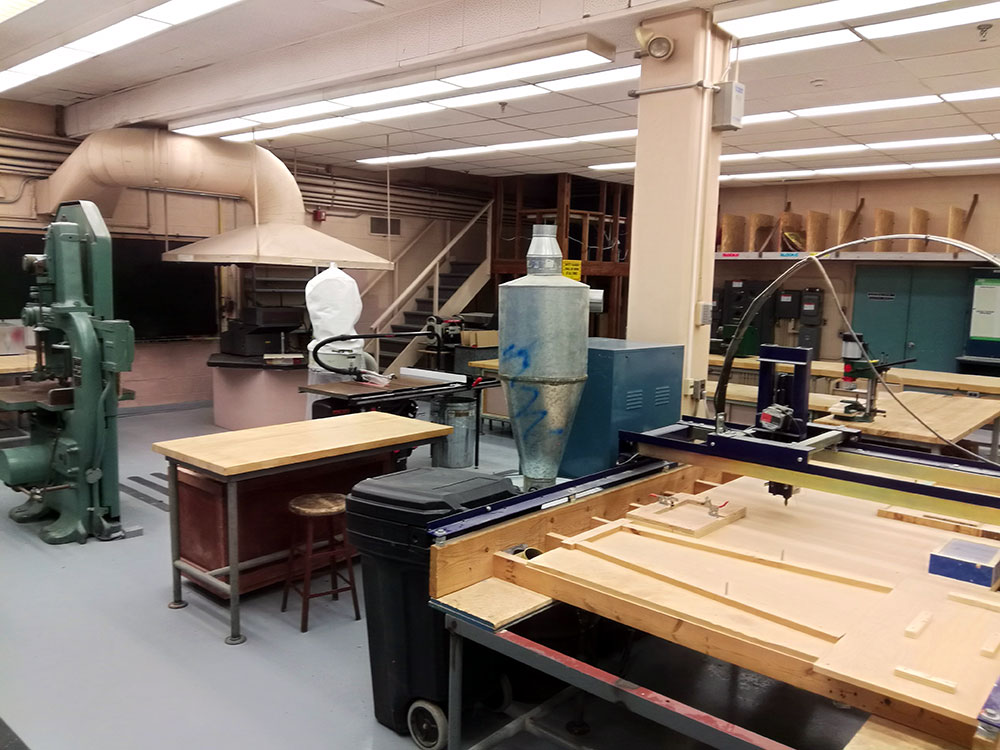
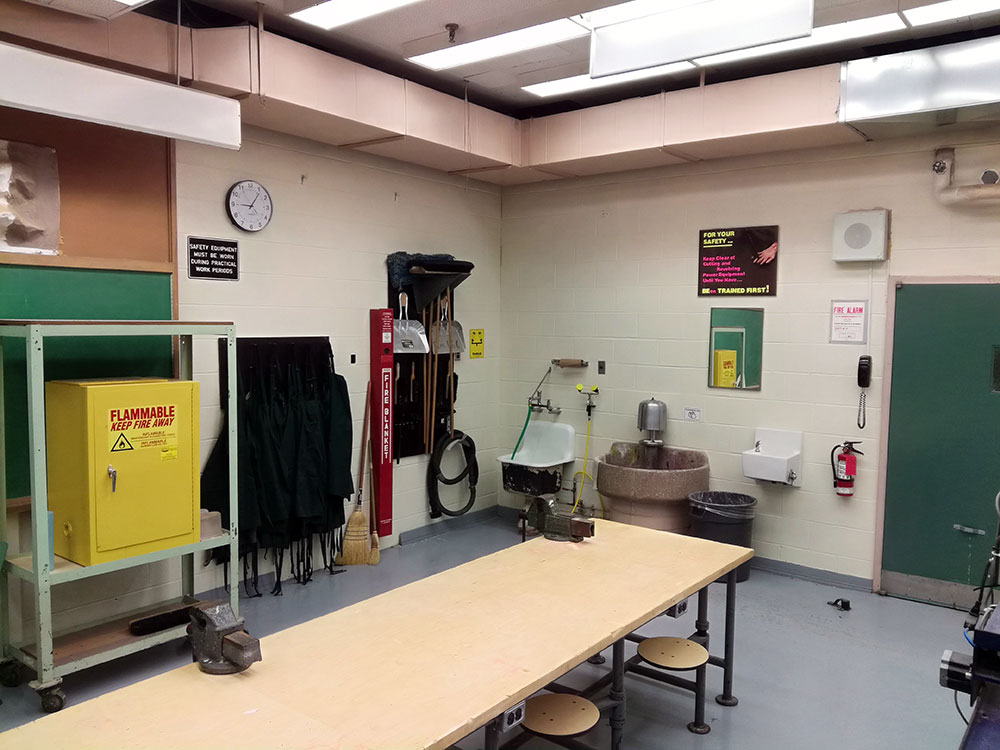
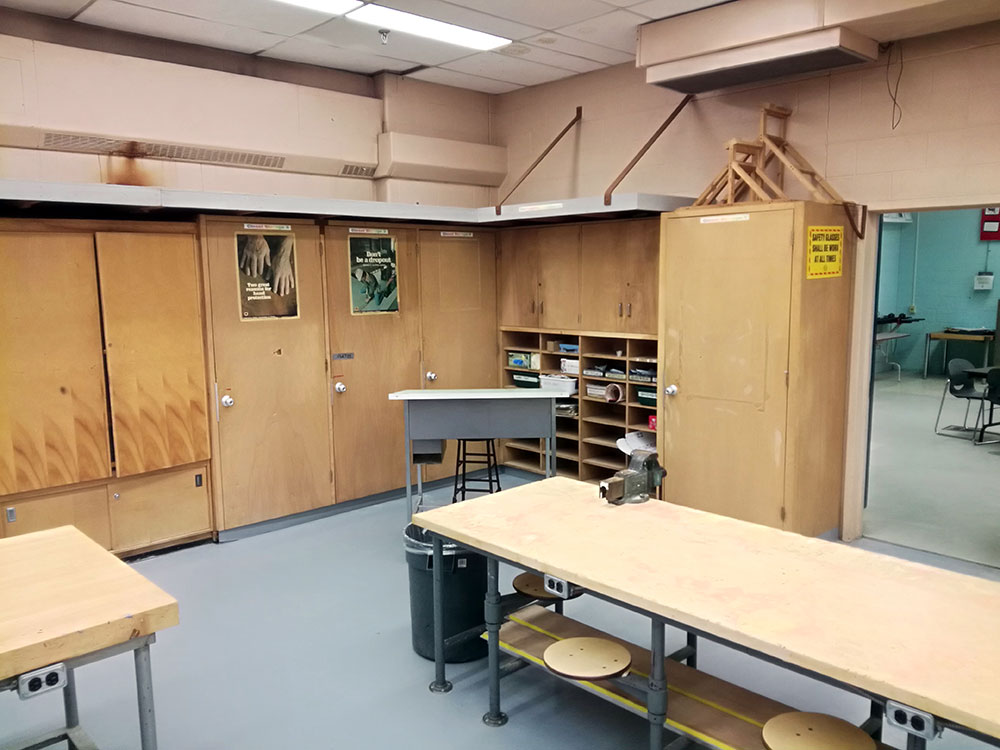
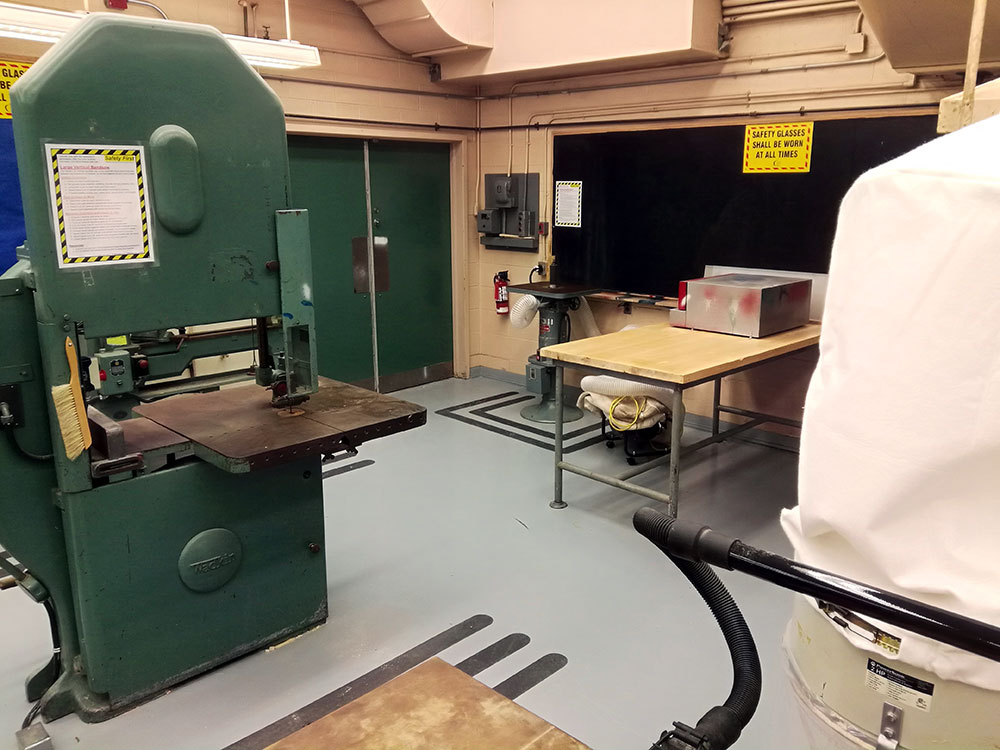
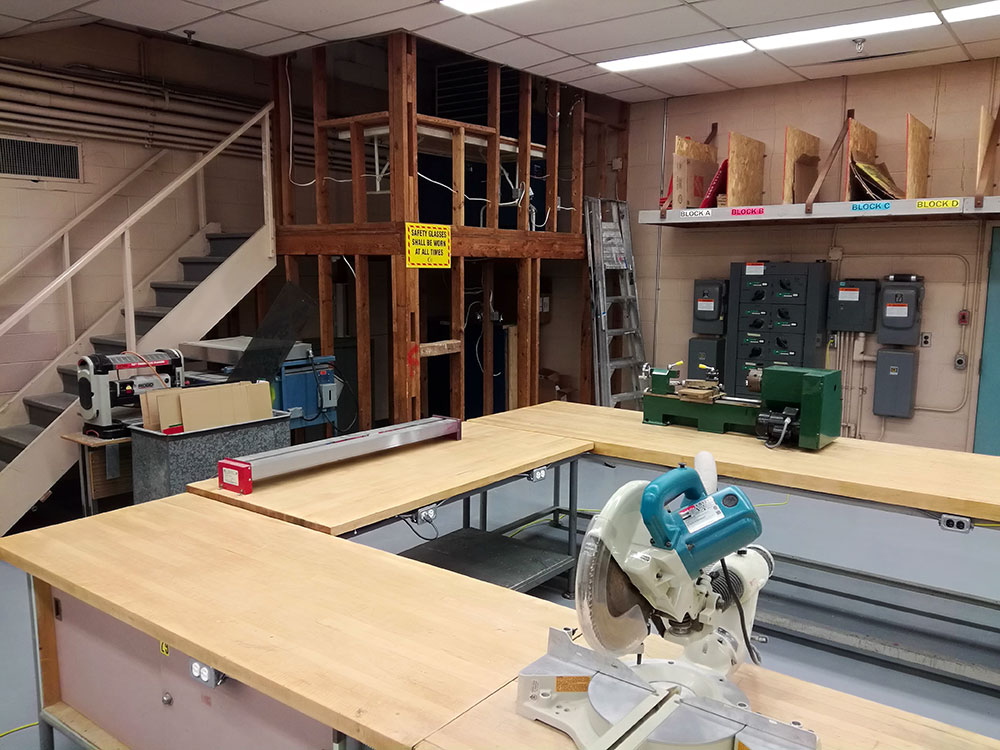
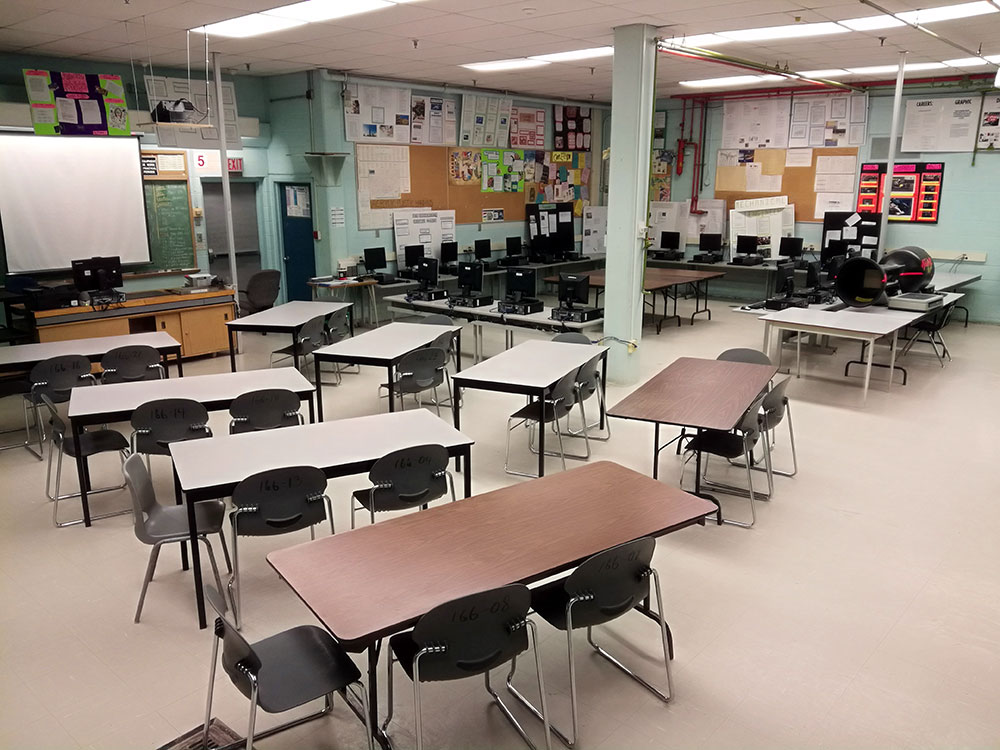
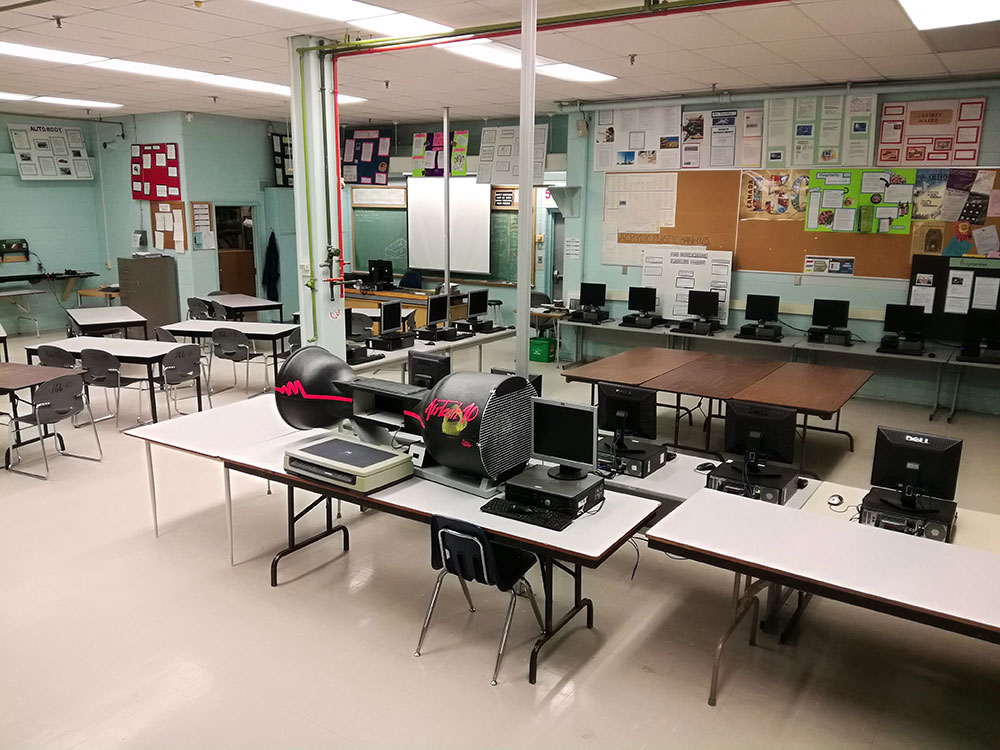
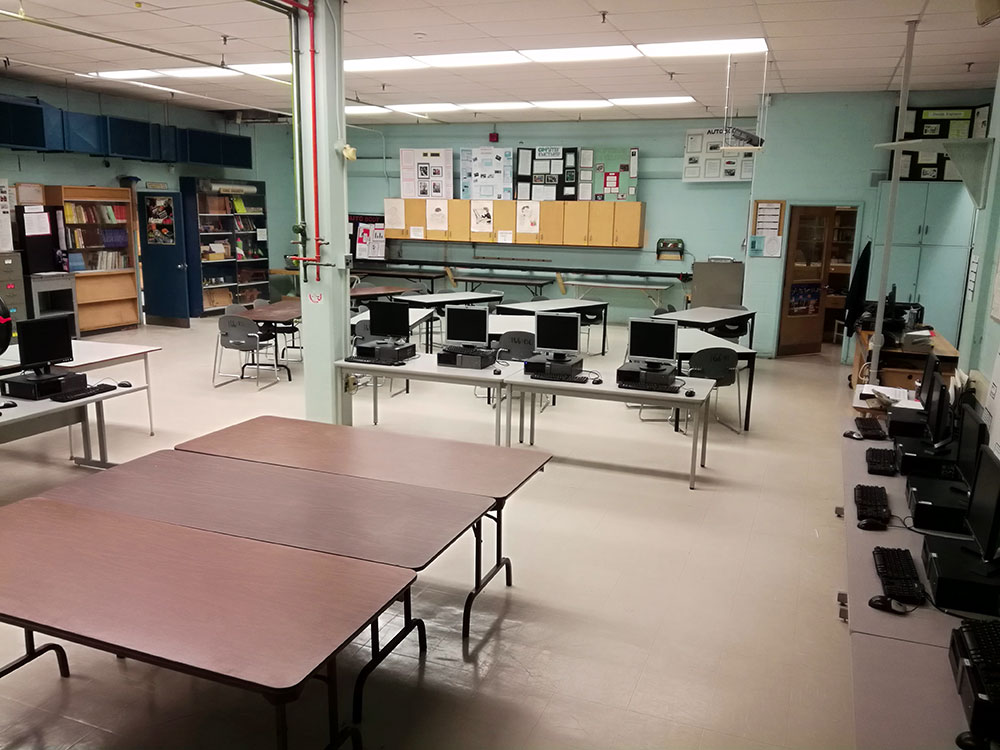
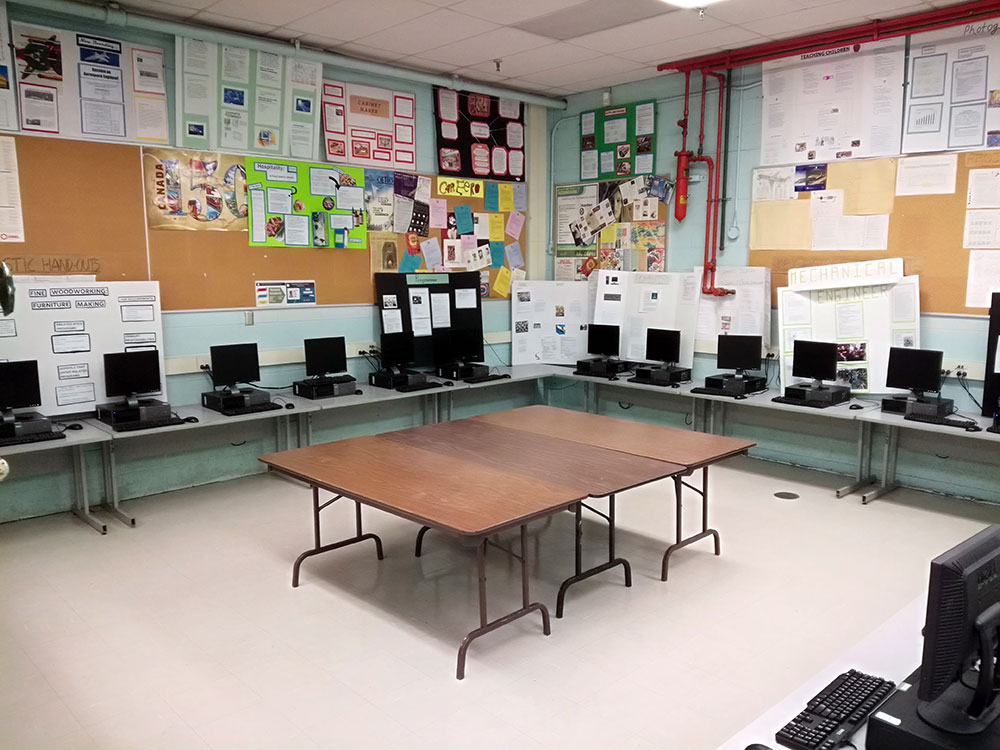
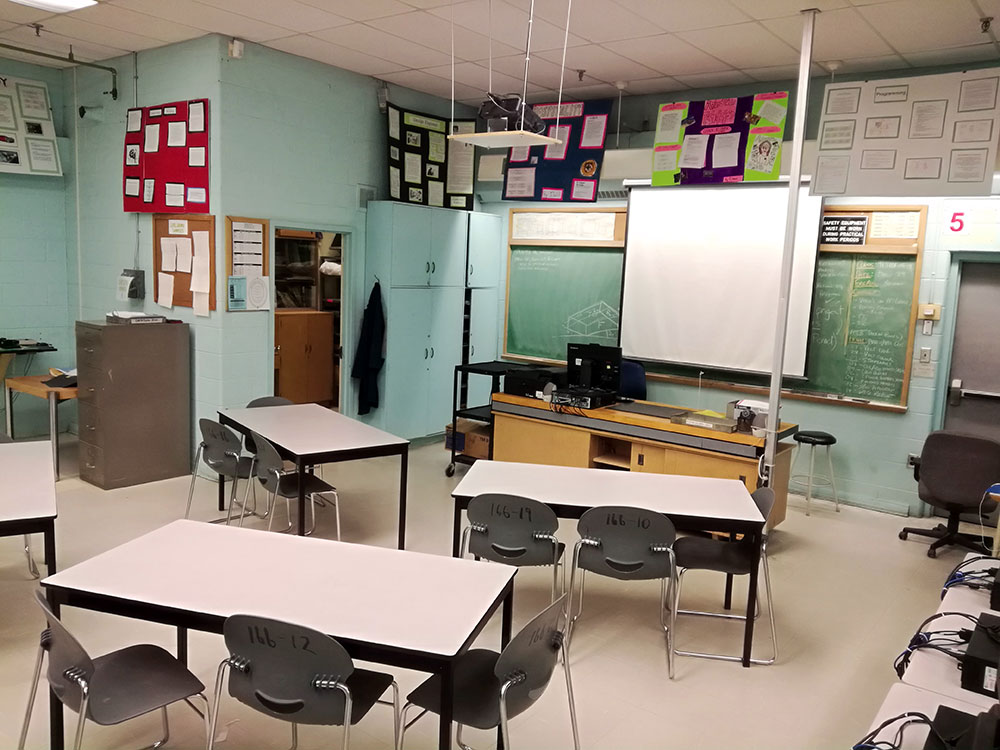
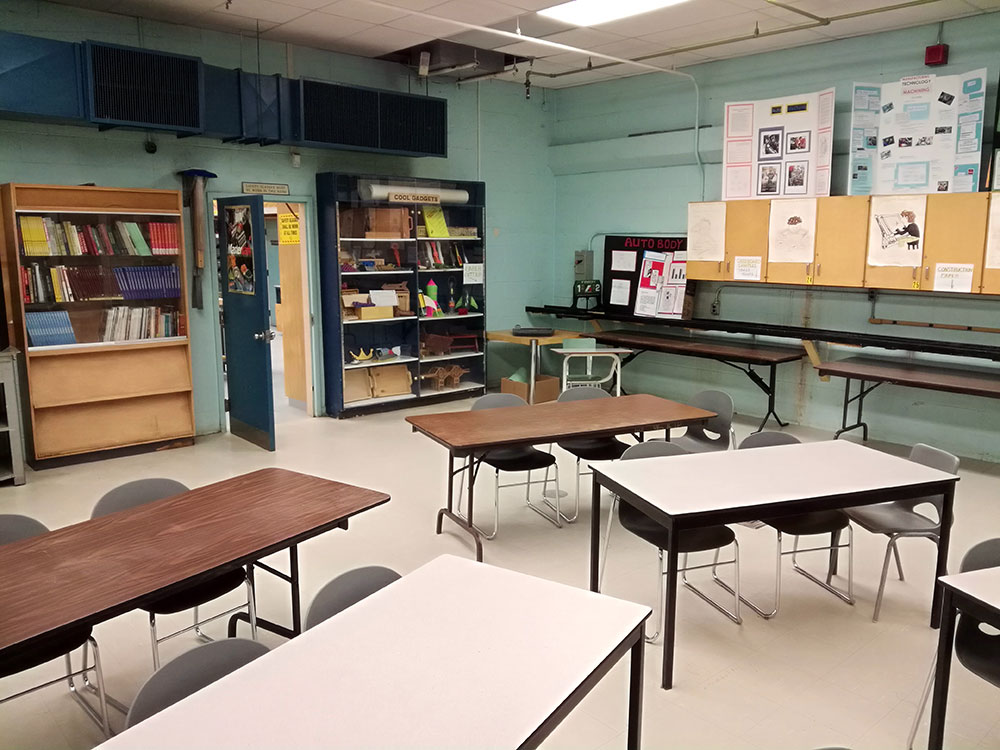
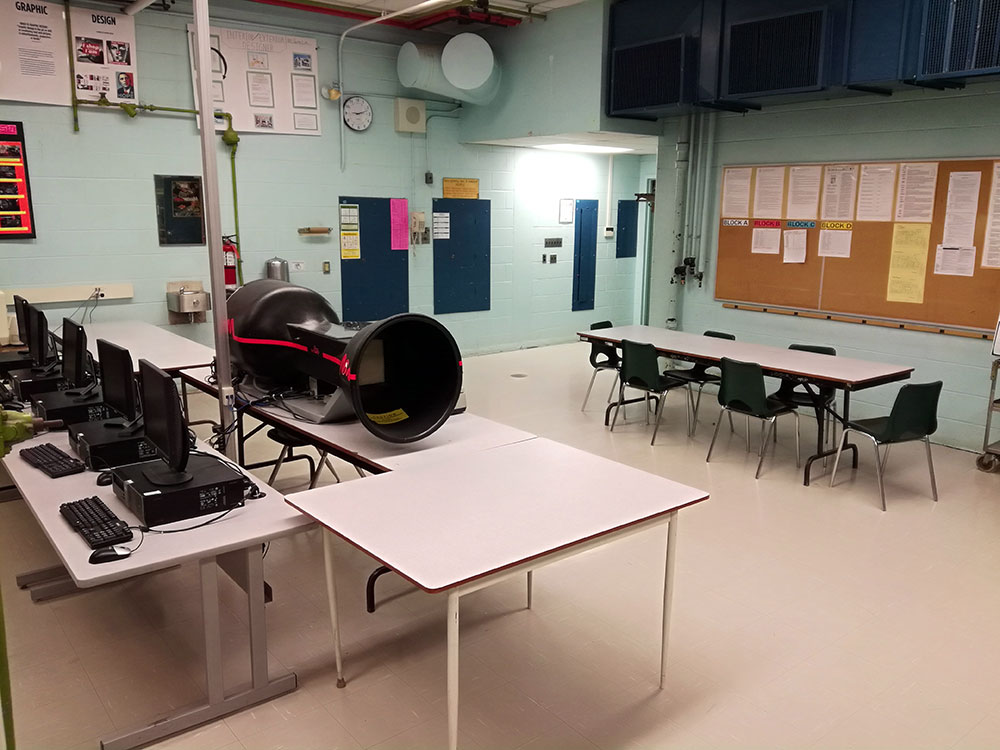
This program uses two adjoining rooms, a classroom and work shop. Both were revitalized in 2017-18 with equipment, tools, work benches, computers, and furniture. Students familiarize themselves with with the rooms and their resources. The classroom, room 166, consists of a theory area, computer lab, prototyping area, project testing area, Co2 dragster digital race track, wind tunnel, and library area. The work shop, room 165, consists of bench work areas, wood machines, table vices, multiple portable dust vacuums, CNC router, ventilated paint area, slop sink and Bradley Hand washing area, material shelves and cupboards, tool cabinets, and safety equipment resources - aprons, safety glasses, dust masks, hearing protection, eye wash station, etc. With both of these rooms, students use the resources to learn, research, design, build, and come up with solutions to given technological challenges. Techniques, process, tools, machines, computers, teamwork, co-operation all support students in this excellent, well organized and safe working environment/facility.
Shop 165 and Classroom 166

Shop 165 SE
Shop 165 SW
Shop 165 SW
Shop 165 NE
Shop 165 NW
Shop 165 SE
Shop 165 SW
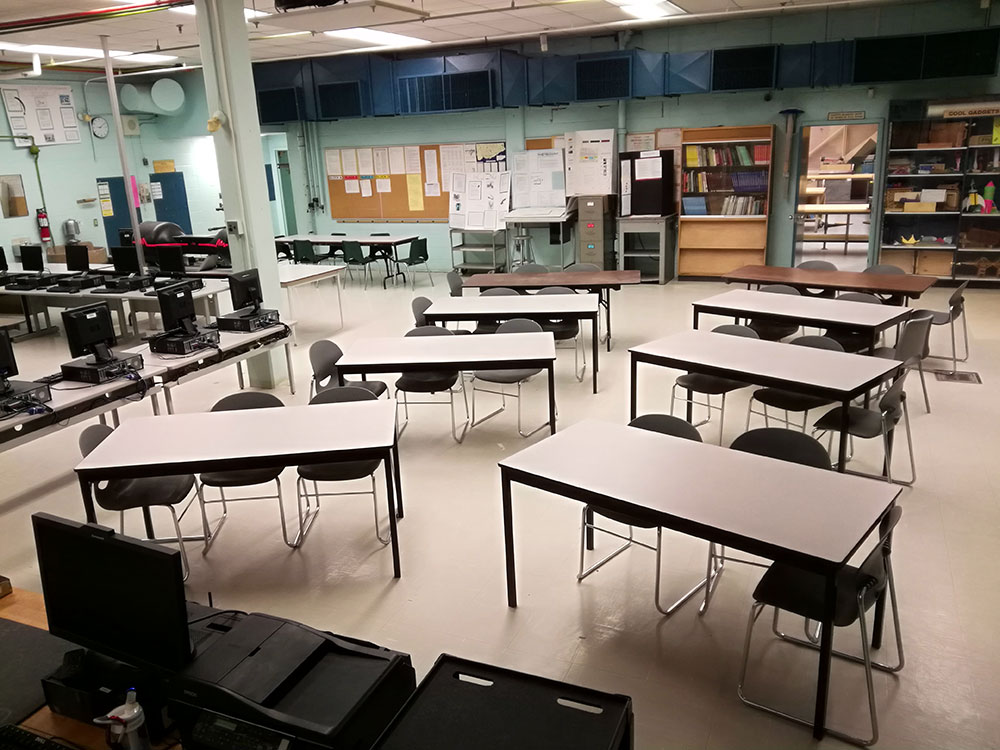
Class 166 SE
Class 166 NW
Class 166 NW
Class 166 N
Class 166 NE
Class 166 NW
Class 166 SW
Class 166 SE
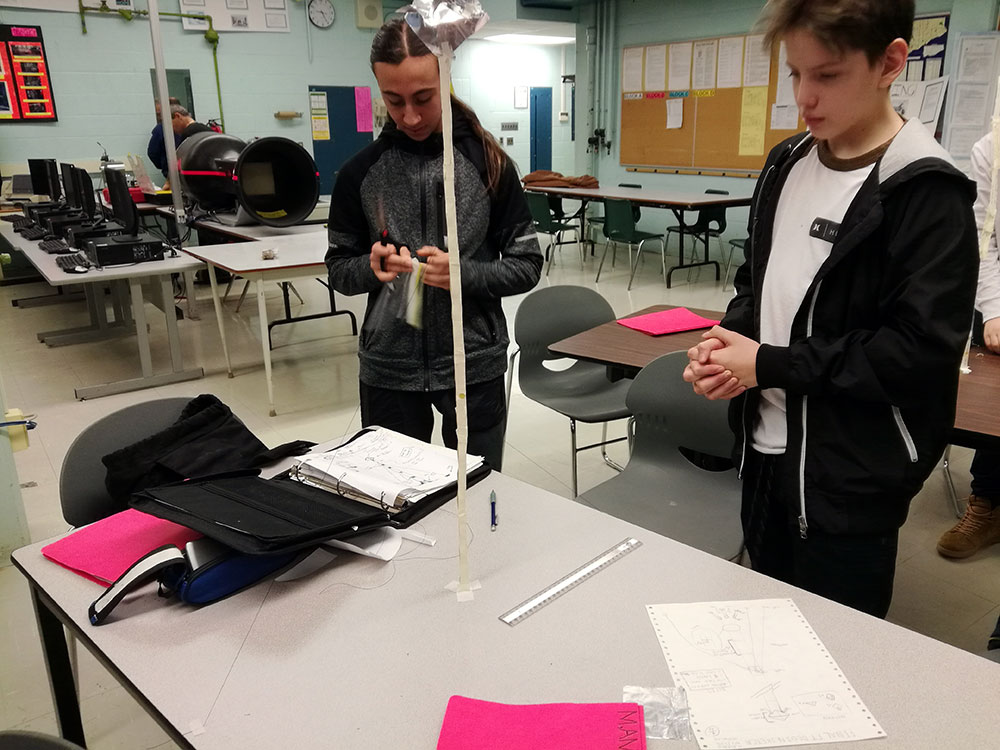
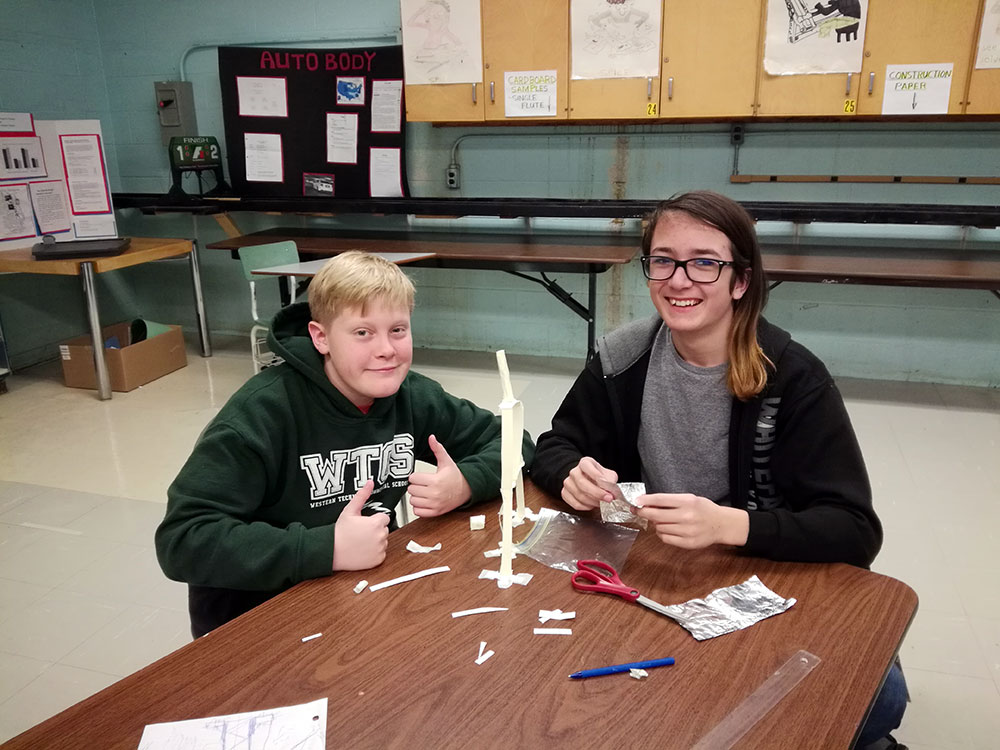
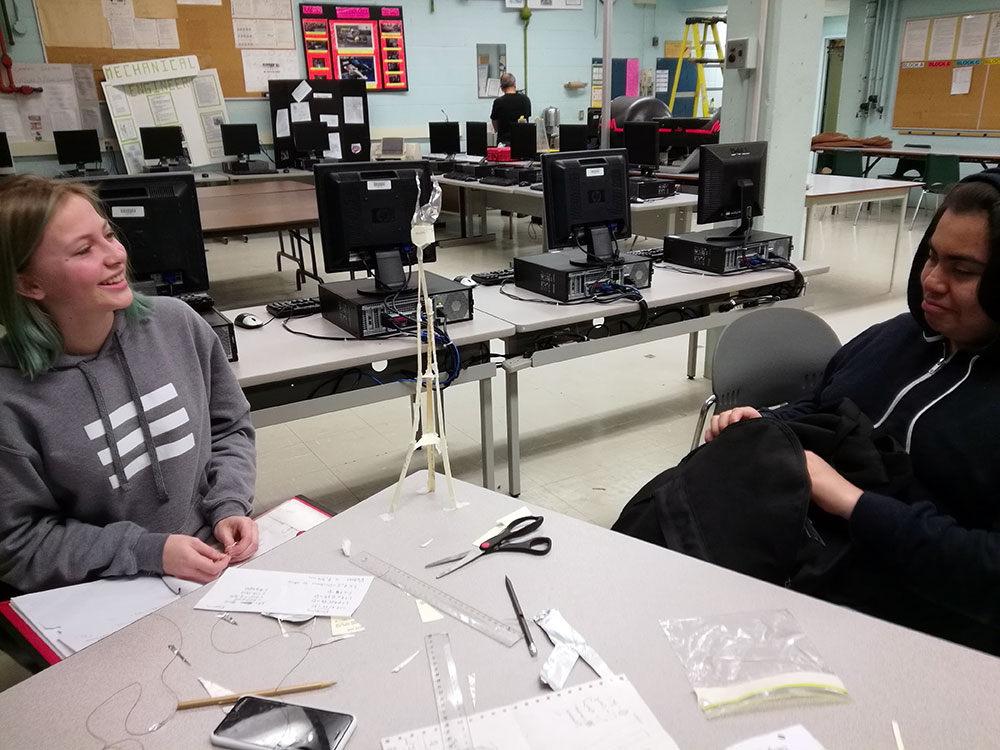
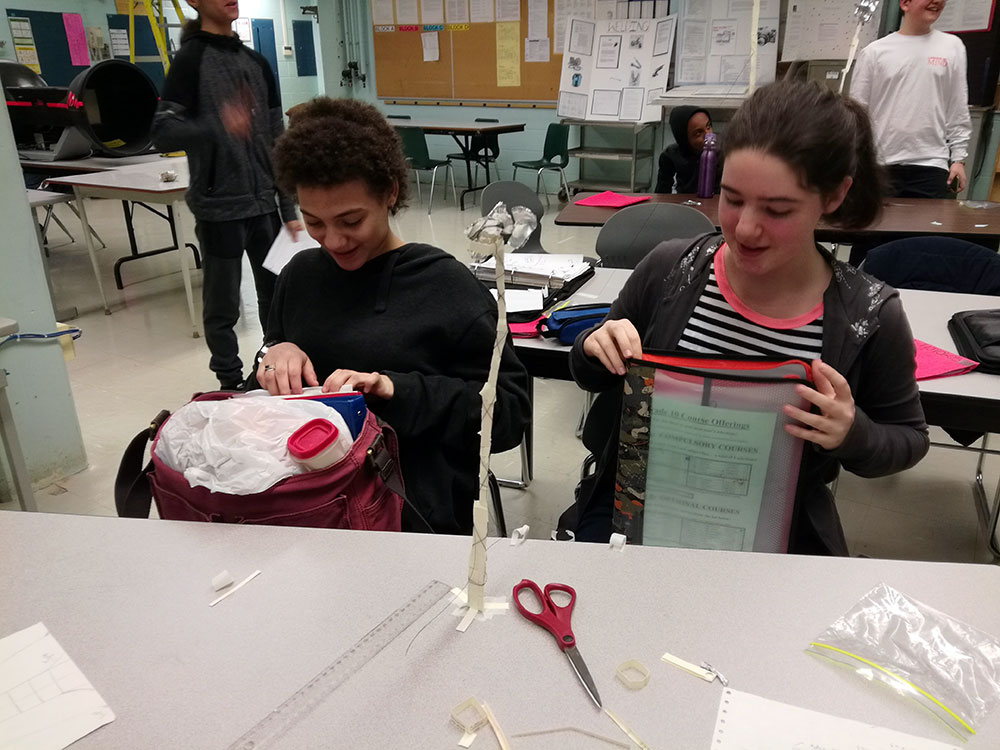
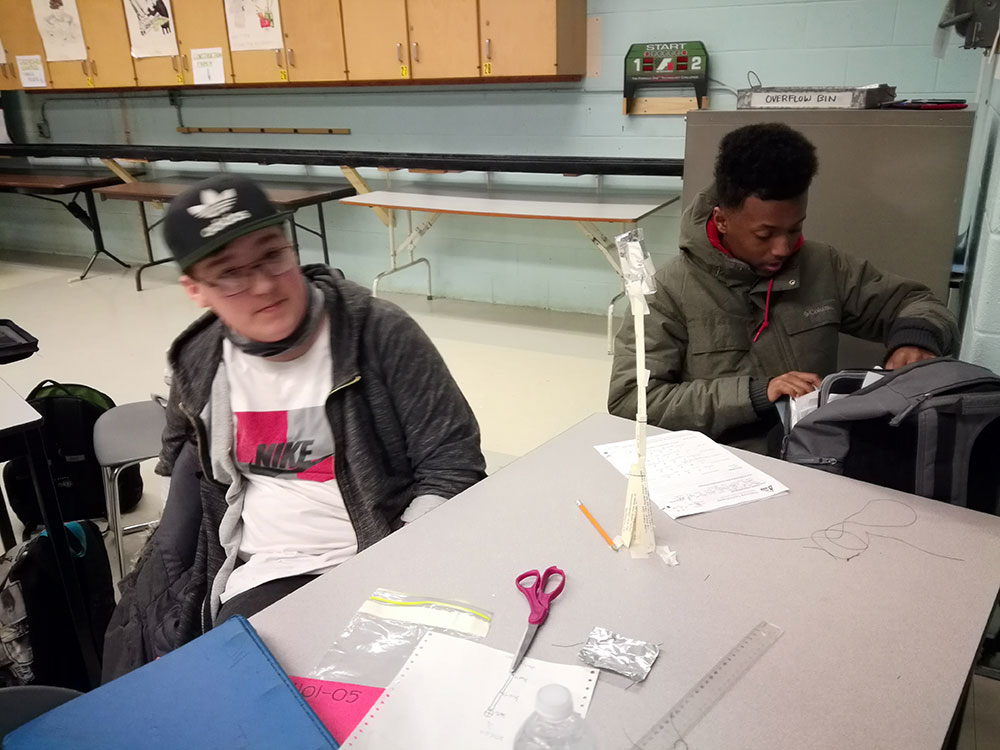
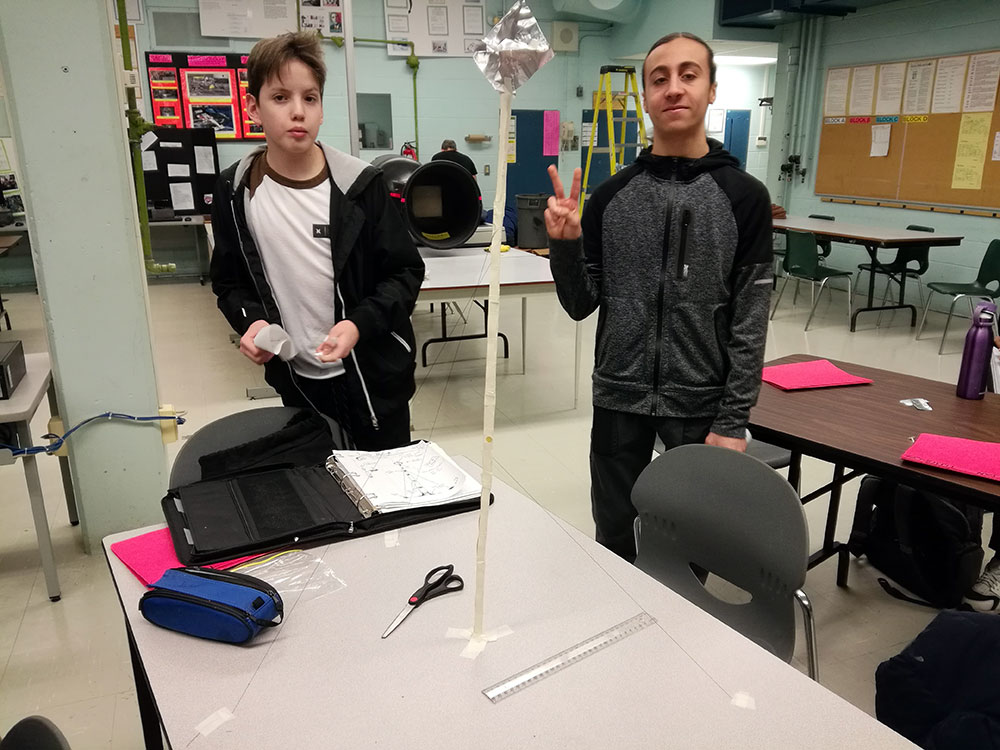
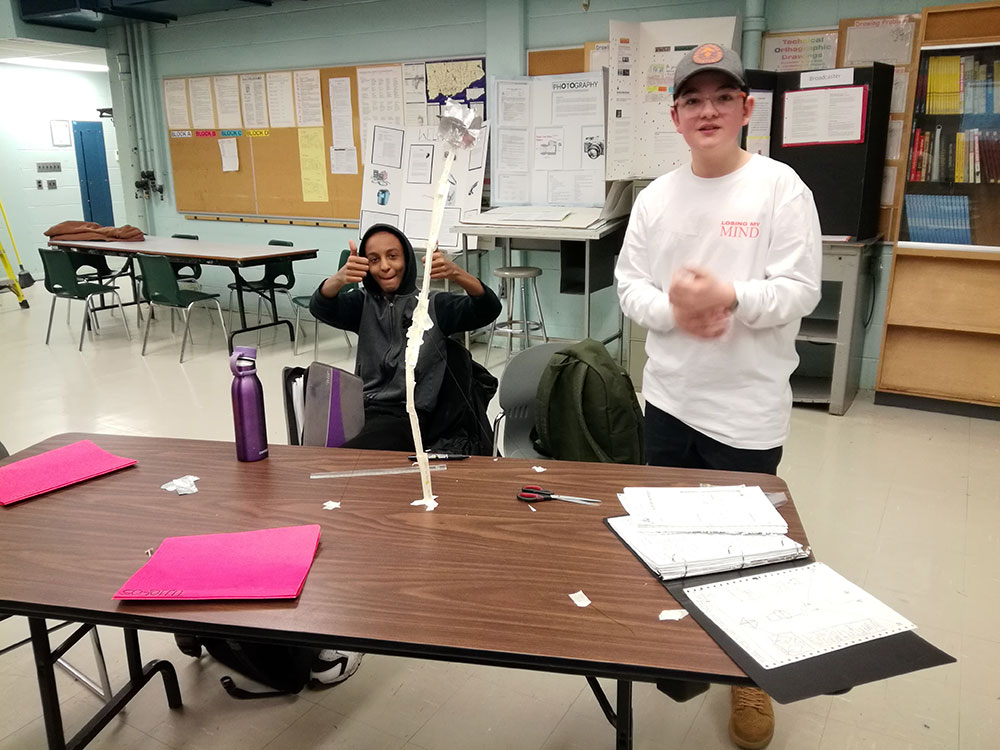
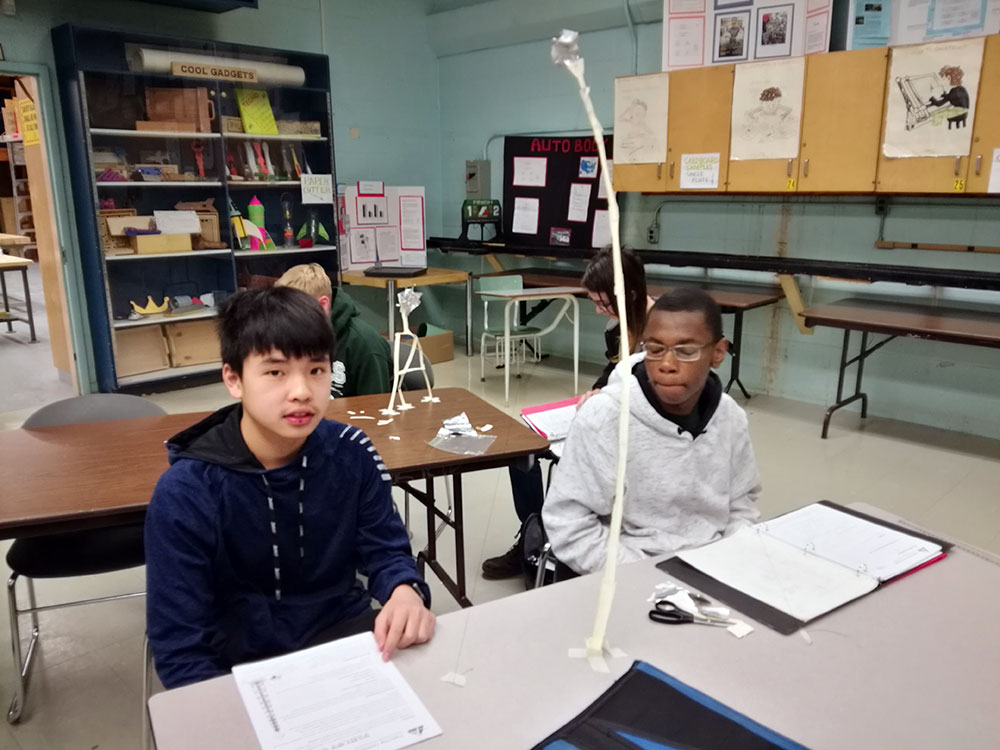
Faulty Towers
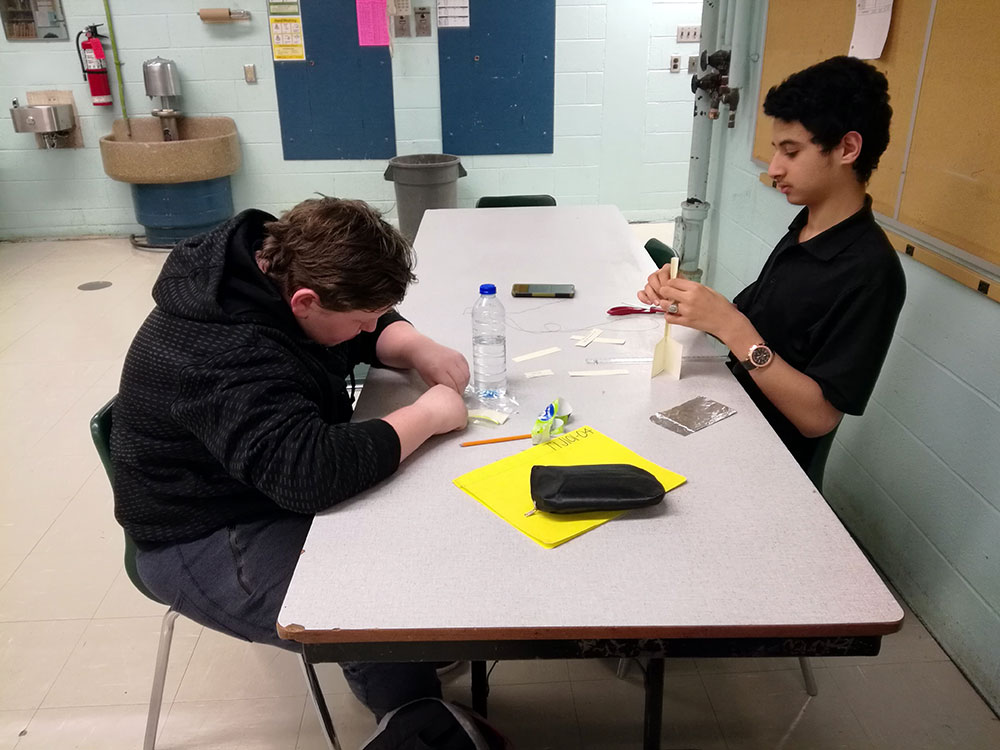
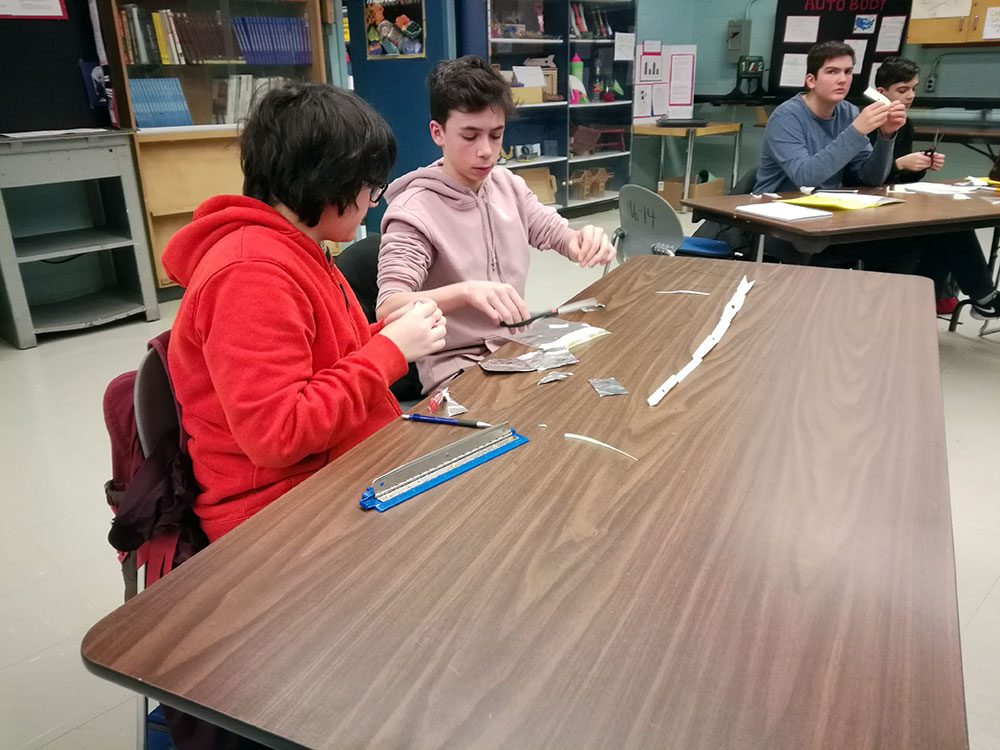
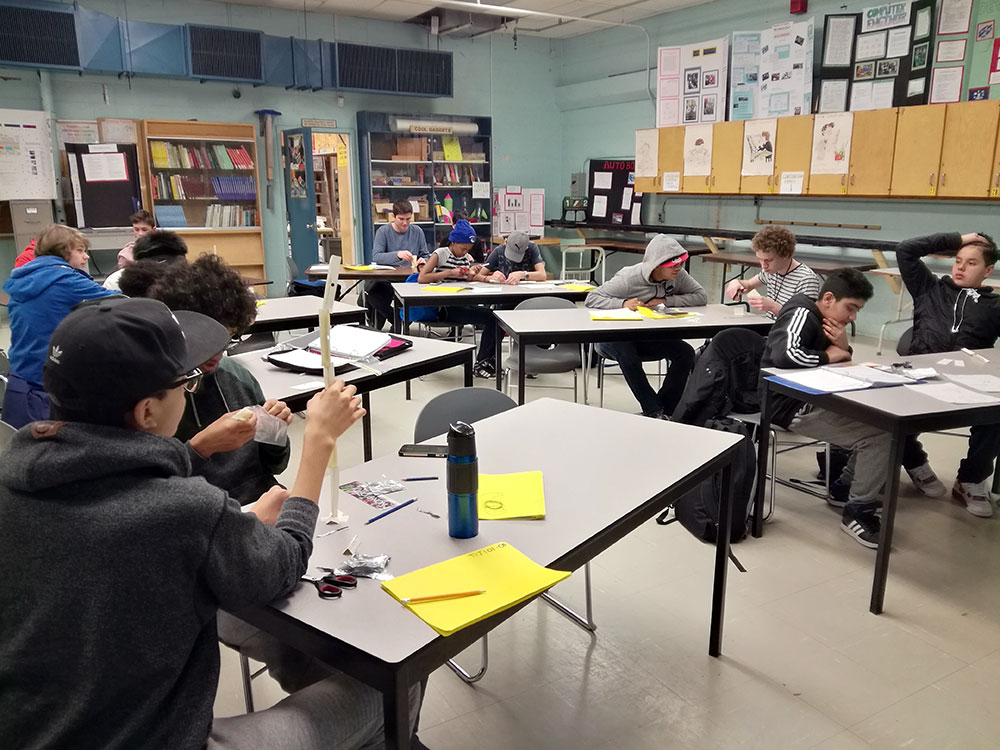
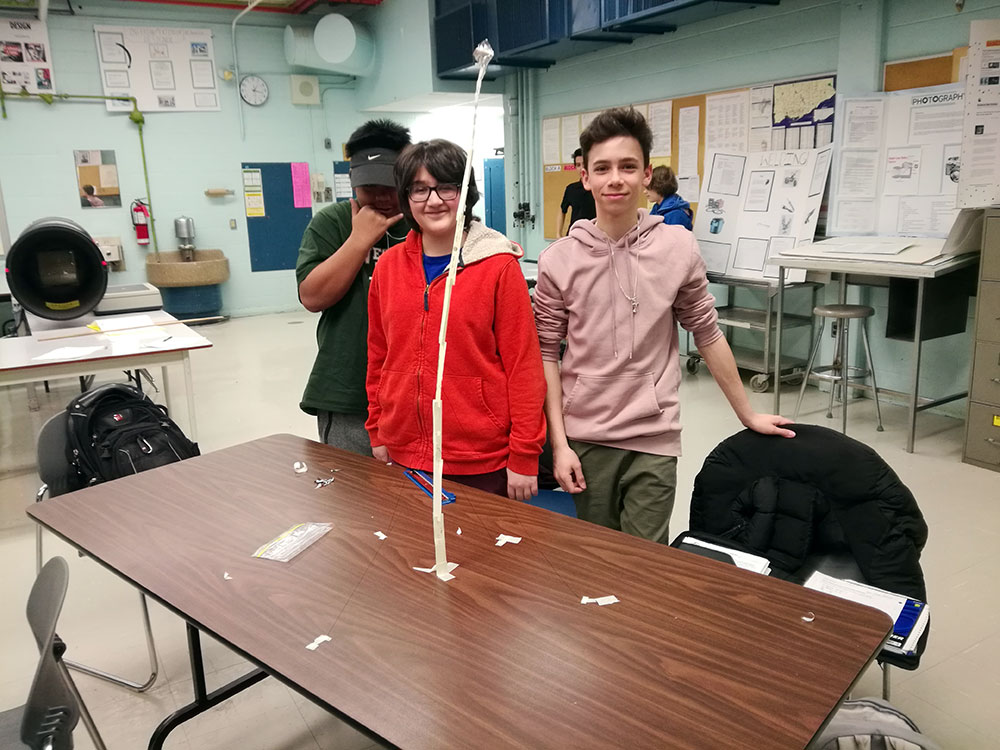
The Faulty Towers project is a great introduction to the design process in tech. Students learn to come up with ideas, sketch them out, refine, collaborate, co-operate, and build with their partners fostering teamwork and responsibility. Students get to apply their several days of research, ideas, and planning to compete in a single period to build the tallest tower.
Tower Competition Build Day

Class start

Class start
Partner Builds
Partner Builds
Partner Builds

Partner Builds
Partner Builds

Tower Built
Tower Built
Tower Built
Tower Built
Tower Built
Tower Built
Tower Built

Tower Built

Class start
Partner Builds
Partner Builds
Partner Builds
Tower Built
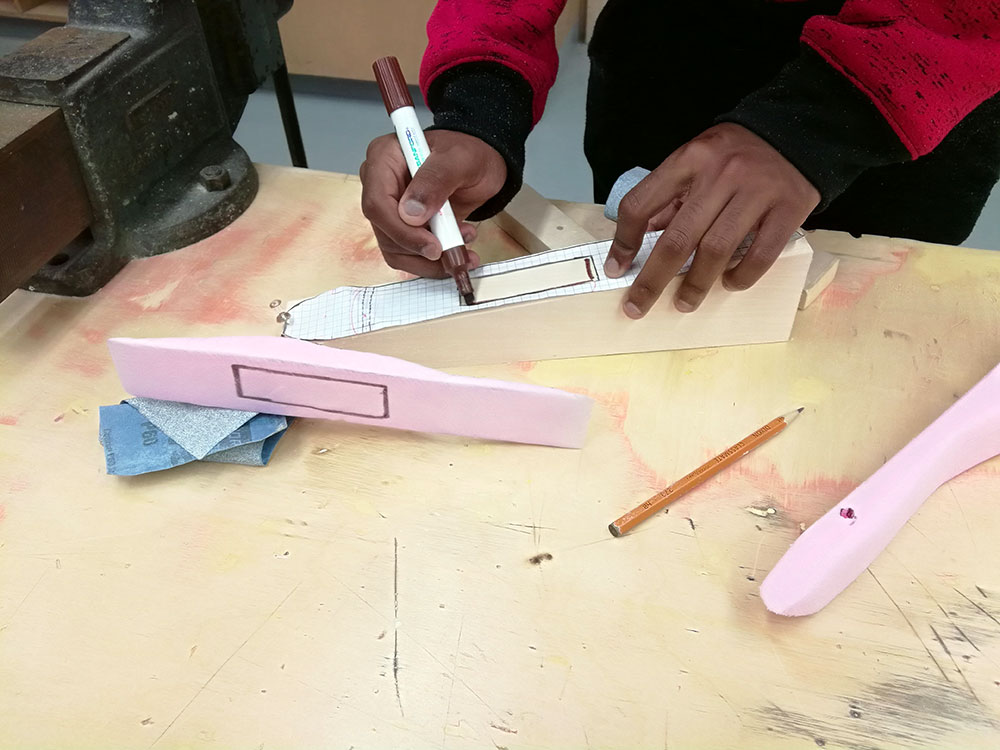
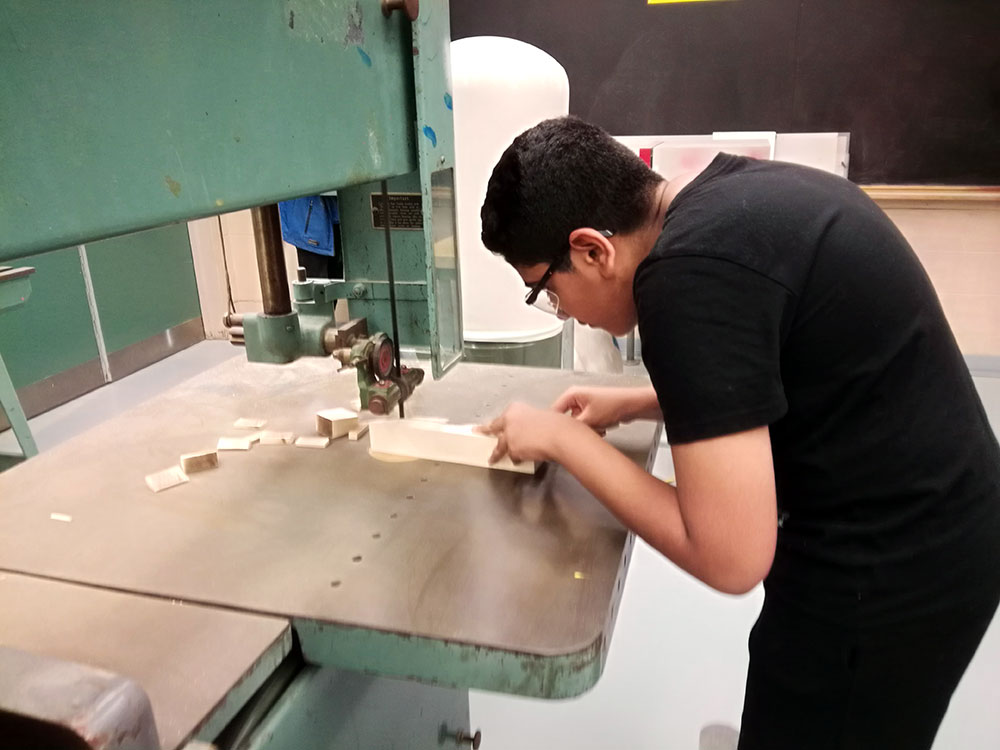
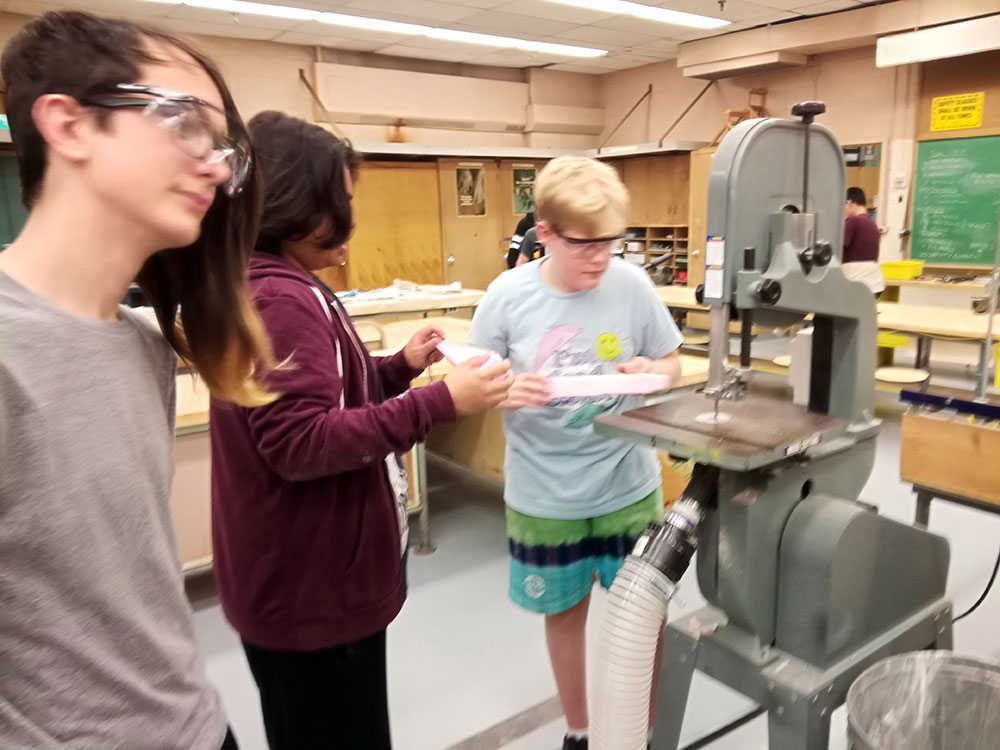
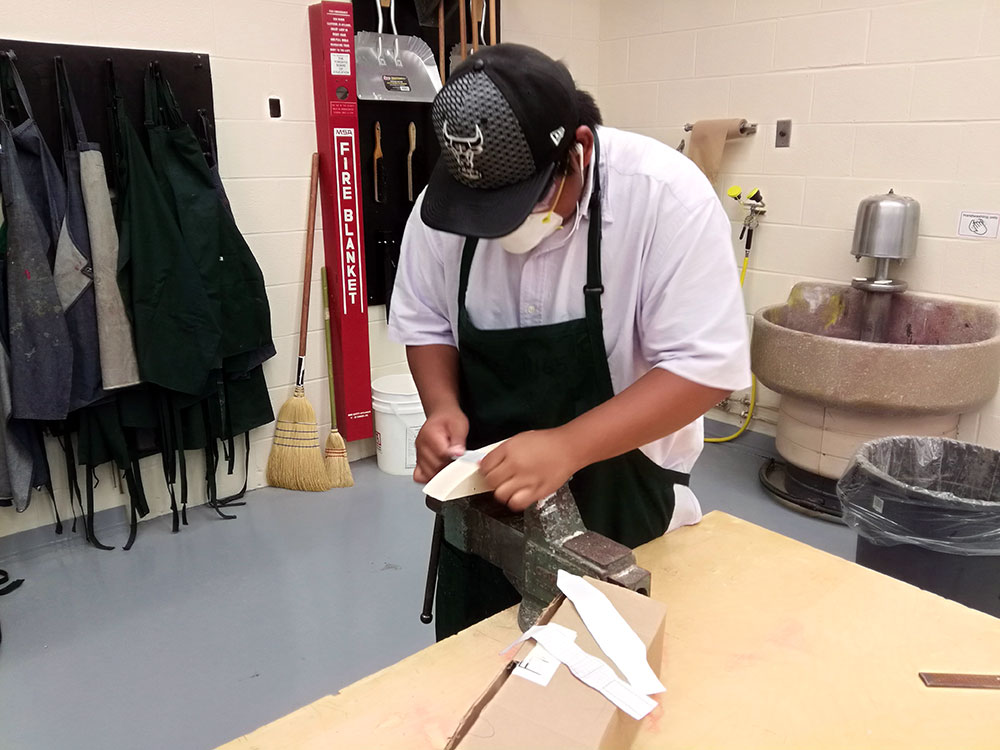
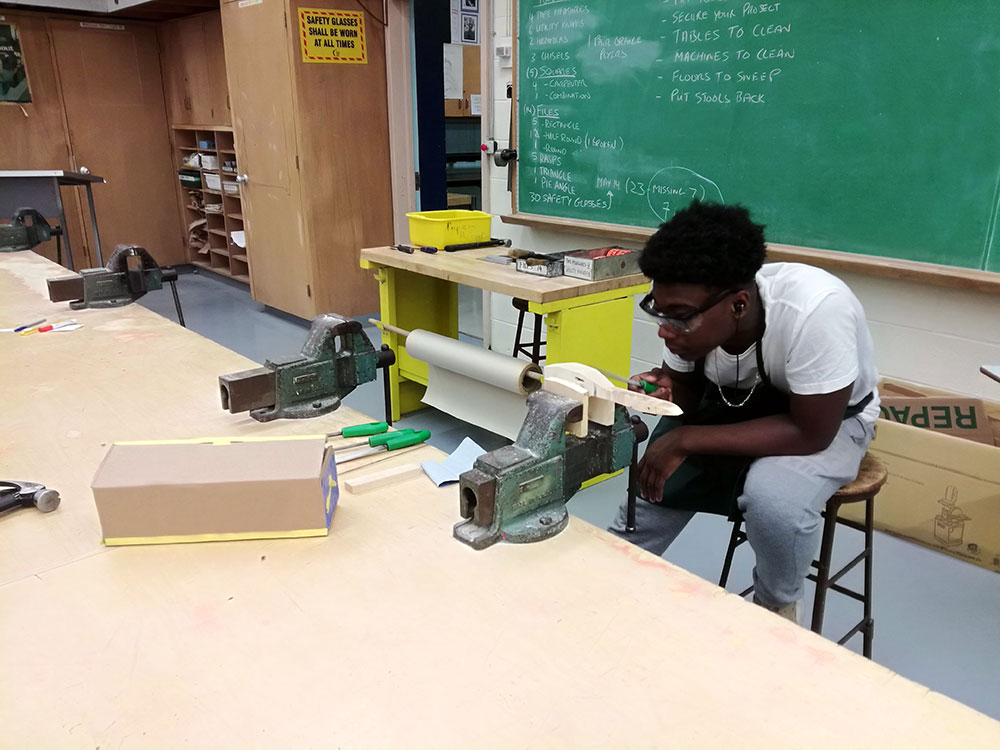
Wood Practice
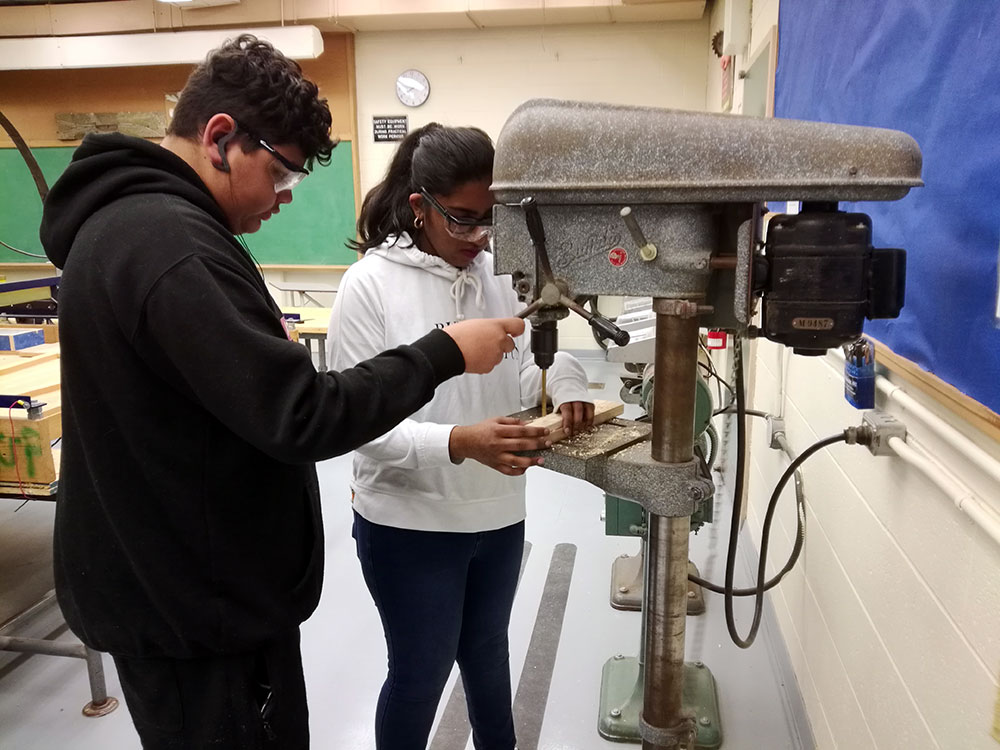
Before students work on their key holder project, they are to layout and and safely demonstrate/practice cutting out a small wood practice piece using wood cutting machines we have in the work shop. Machines are reviewed, safety contracts must be signed prior to use, layout of cuts are required, and proper demonstration of machine process must be demonstrated before students are allowed to use machines for future course projects.
Safety, Layout, and Machine Safety
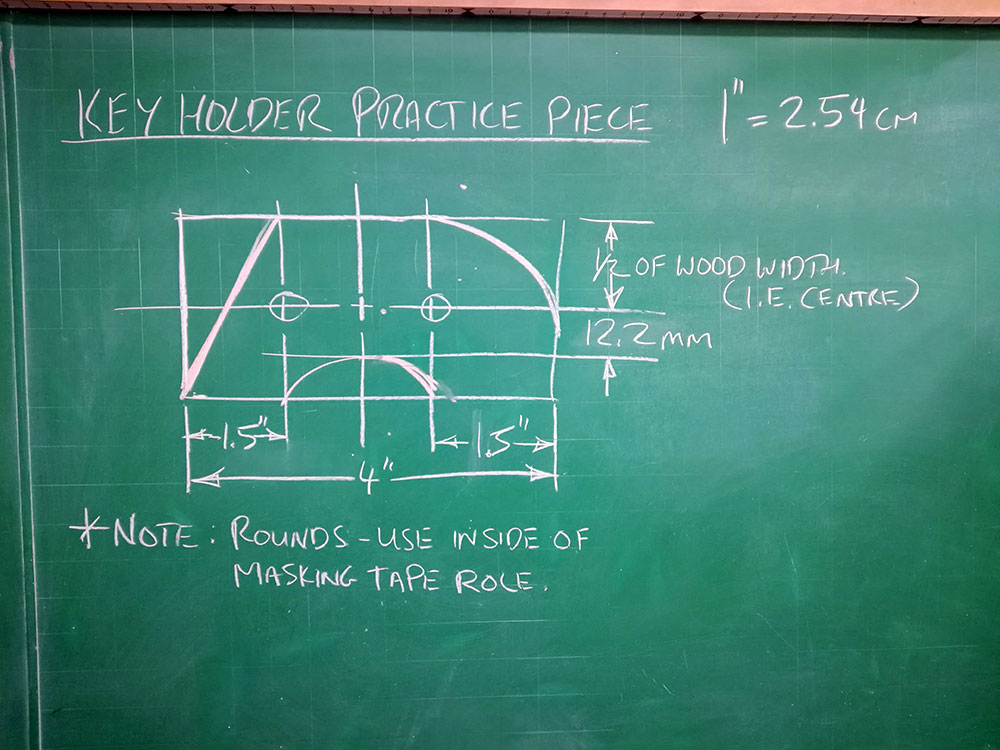
DWG to Follow

Layout
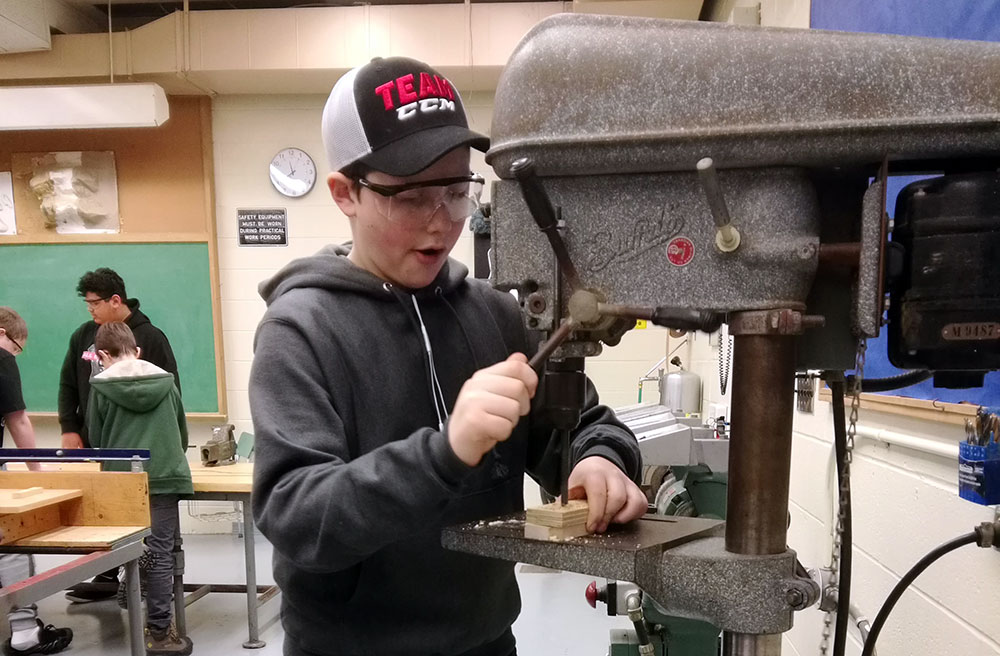
Drill Press
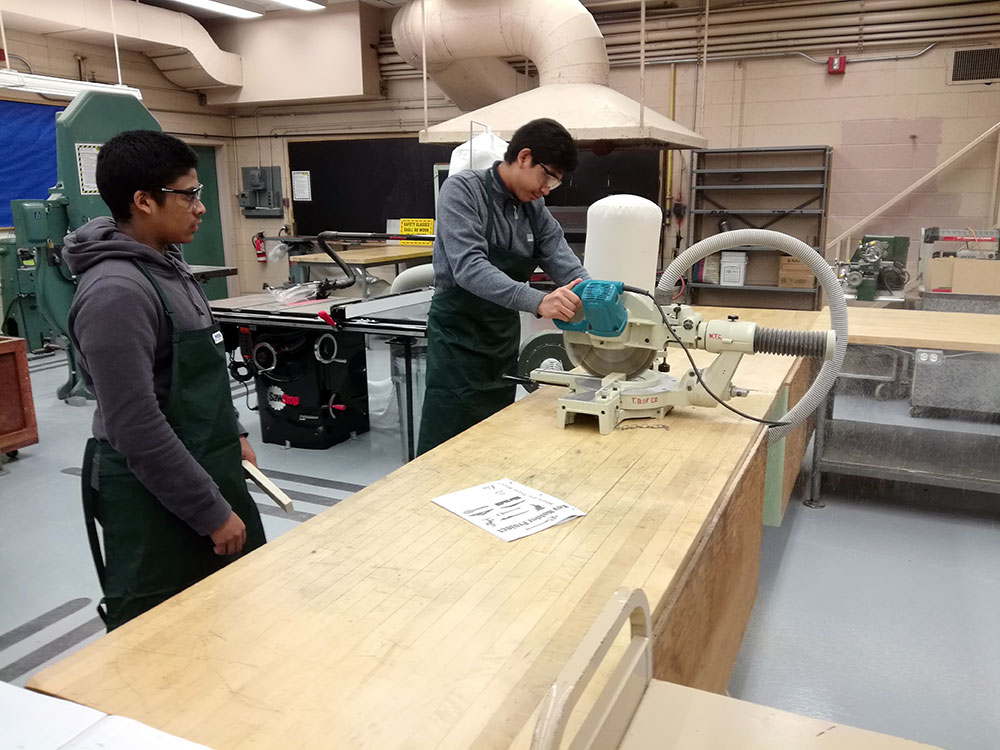
Mitre Saw

More Layout
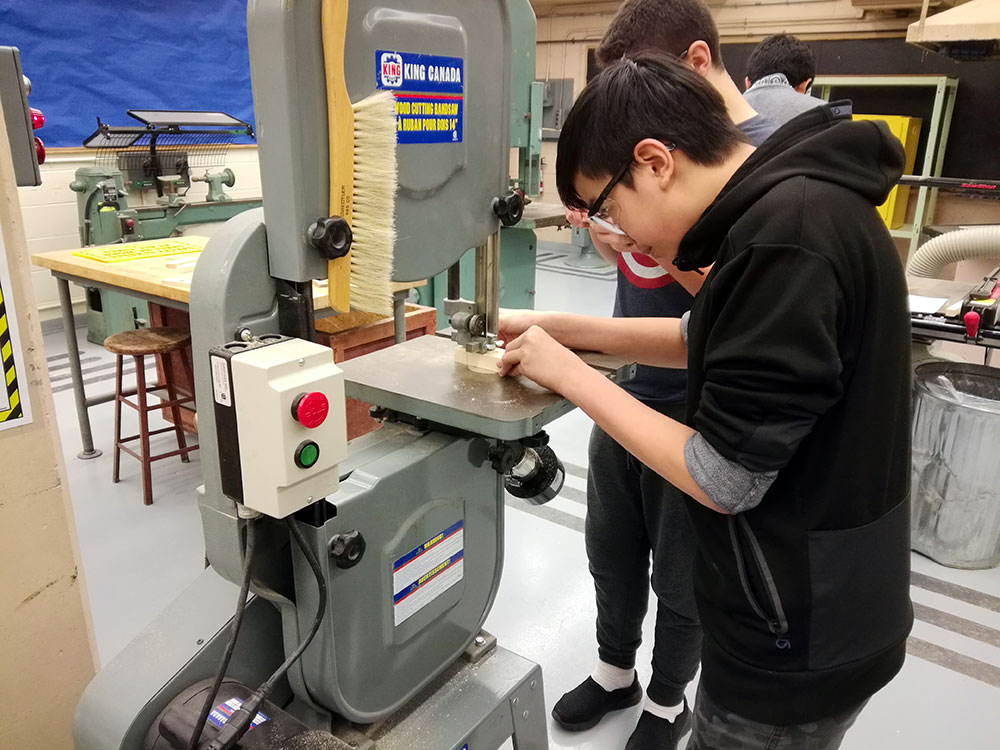
Small Band saw
Drill Press
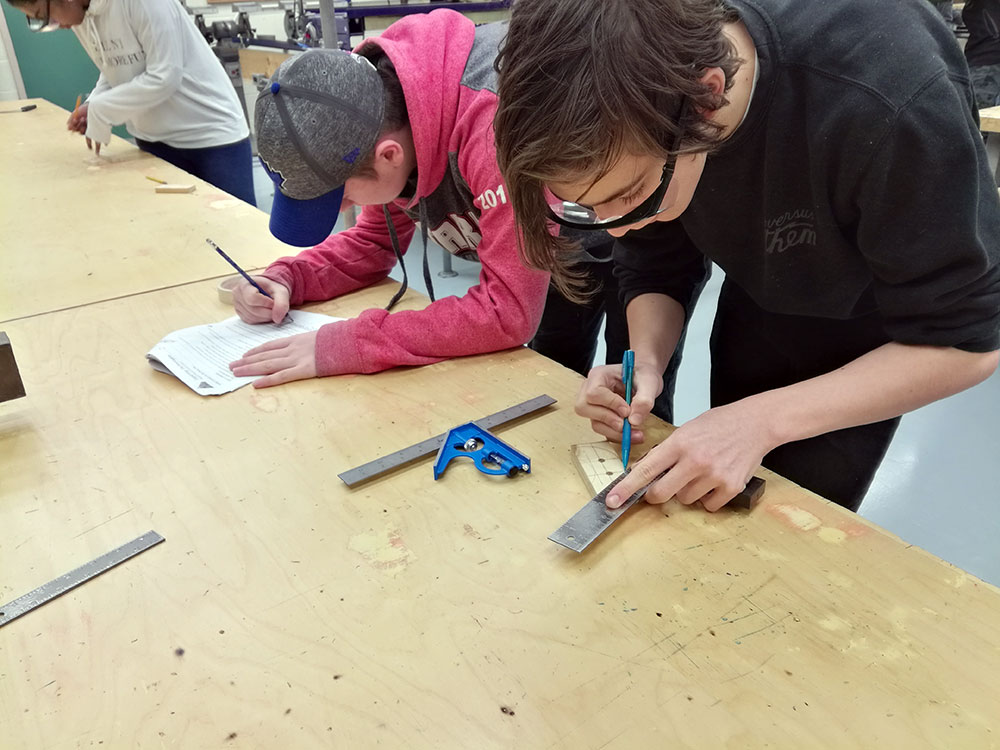
More Layout

Large Band saw
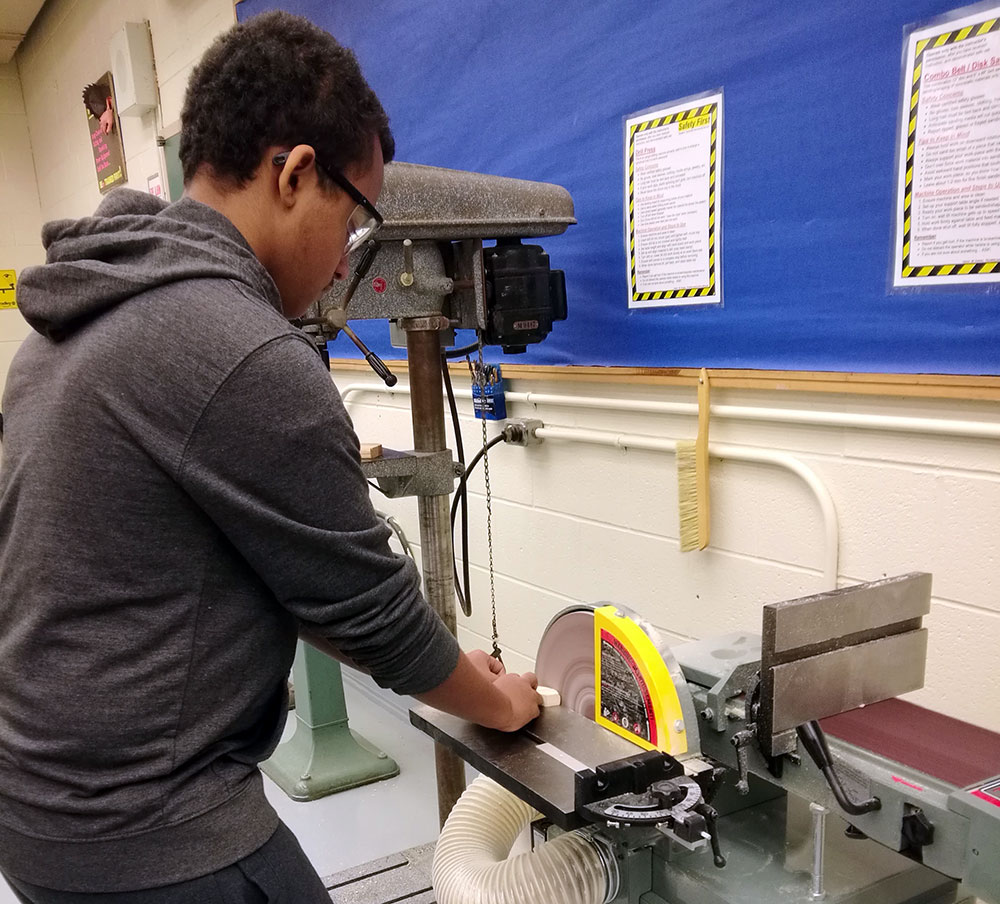
Disk Sander
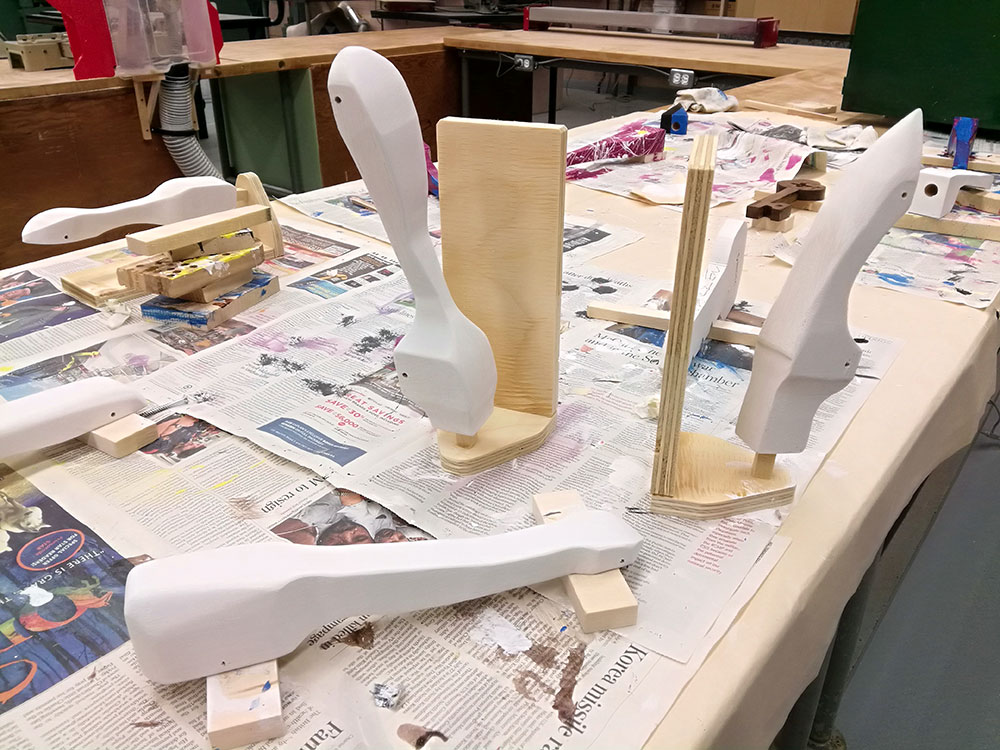
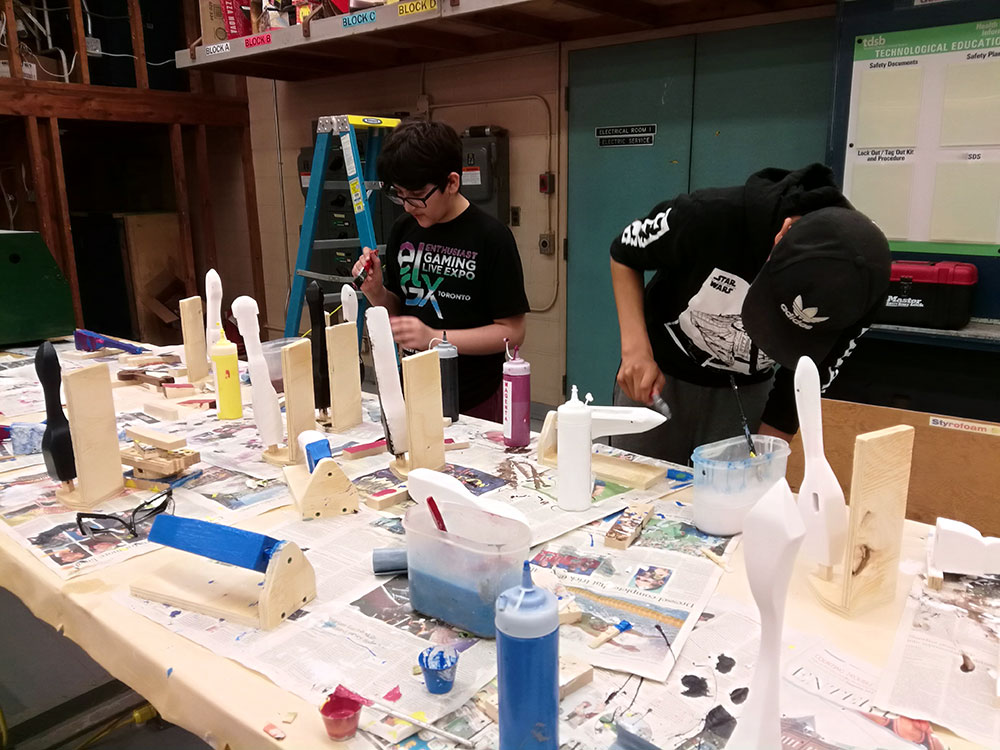
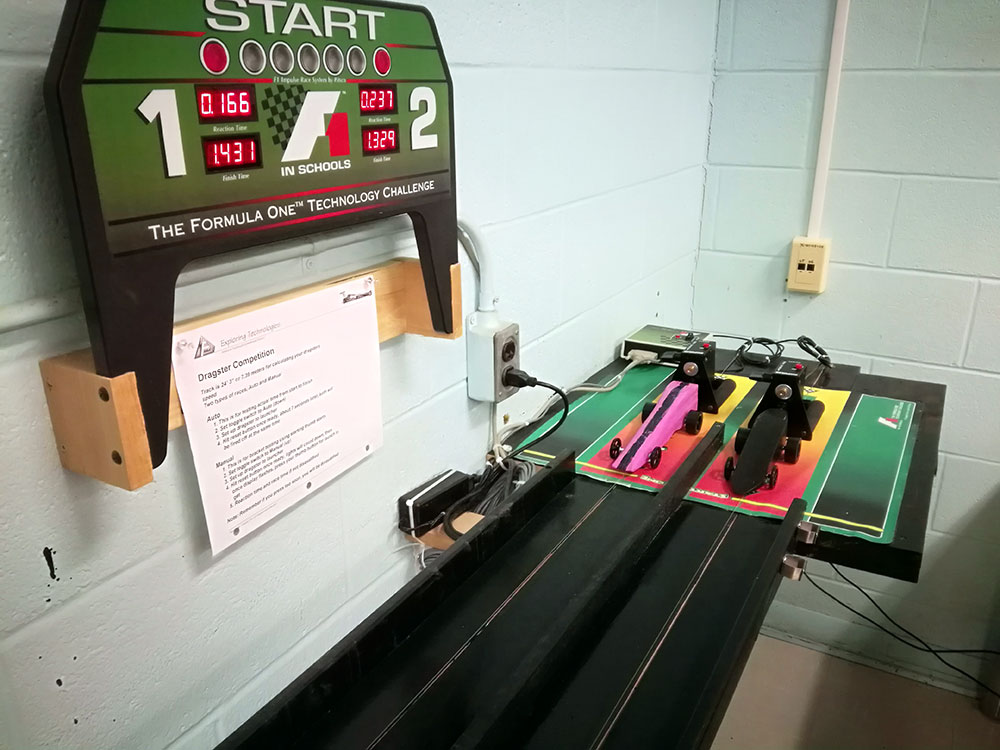
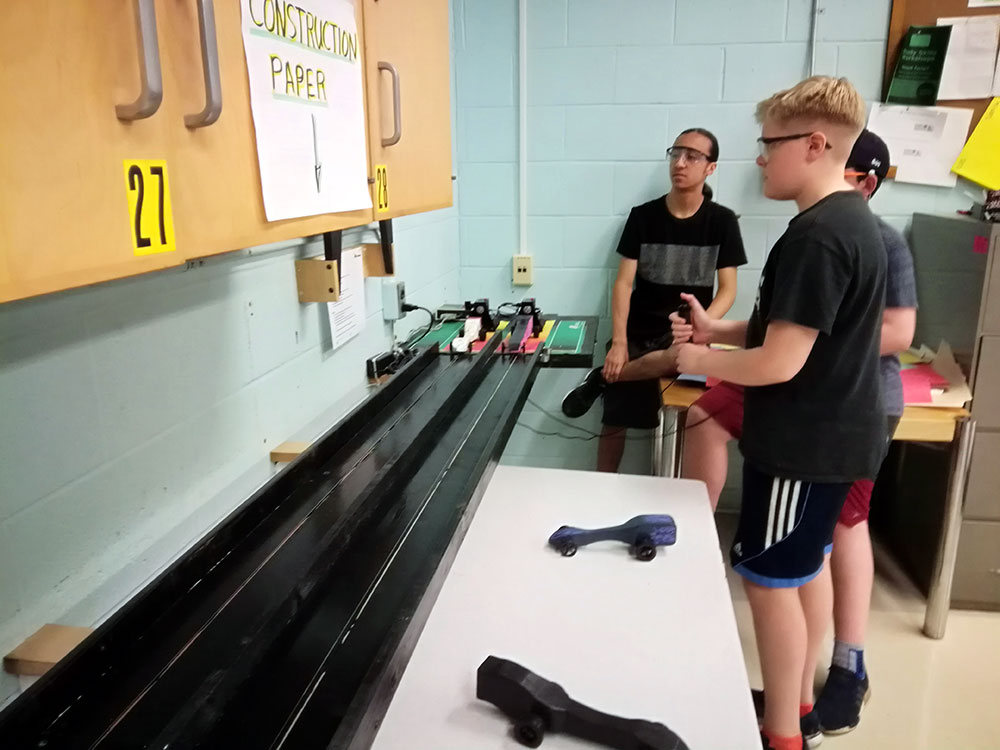
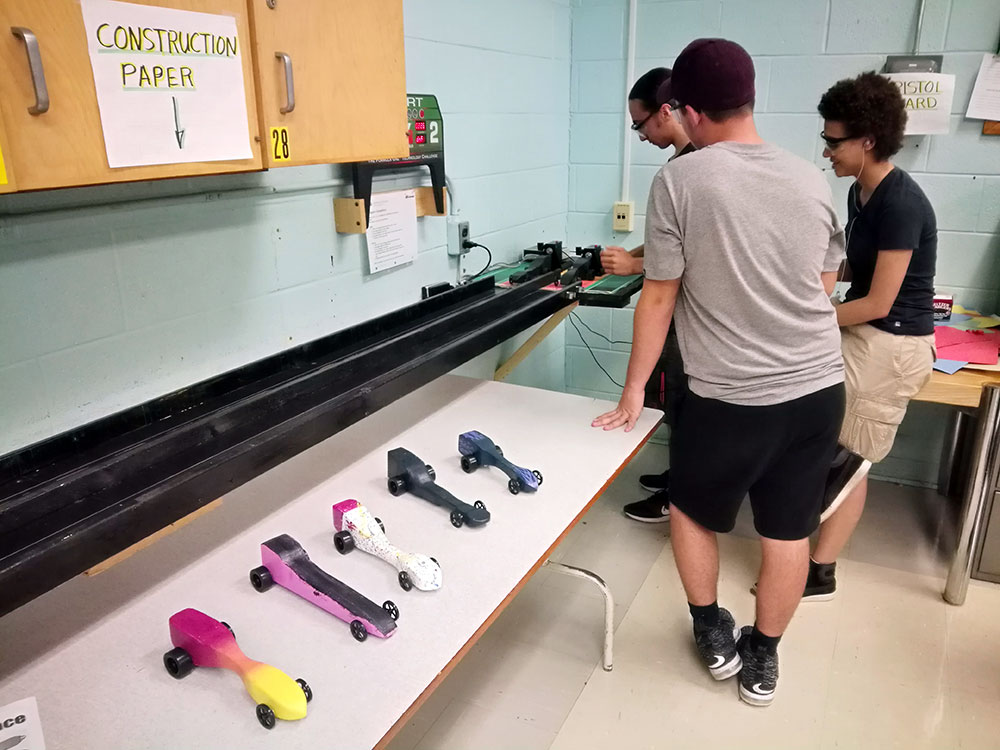
CO2 Dragster
Students use all their skills and experience learned in class to design, build, finish, race, and present a portfolio of their dragster. Everything from research, team work, idea sharing, co-operation, planning, time management, tool machine use, communication, presentation, and portfolio showcase is used to complete the co2 dragster project with the dragster being built with TSA Competition rules and regulation for safety and fairness for all. Through this process students apply what they have learned to practice and show what they learned and well they have learned it.
Co2 Dragster Build, Finish, and Race

Transfer Designs
Transfer Designs
Transfer Designs

Band saw Cutting
Band saw Cutting
Band saw Cutting

Sanding
Sanding
Sanding
Sanding

Sanding

Sanding
Painting
Painting
Race Start
Racing
Racing
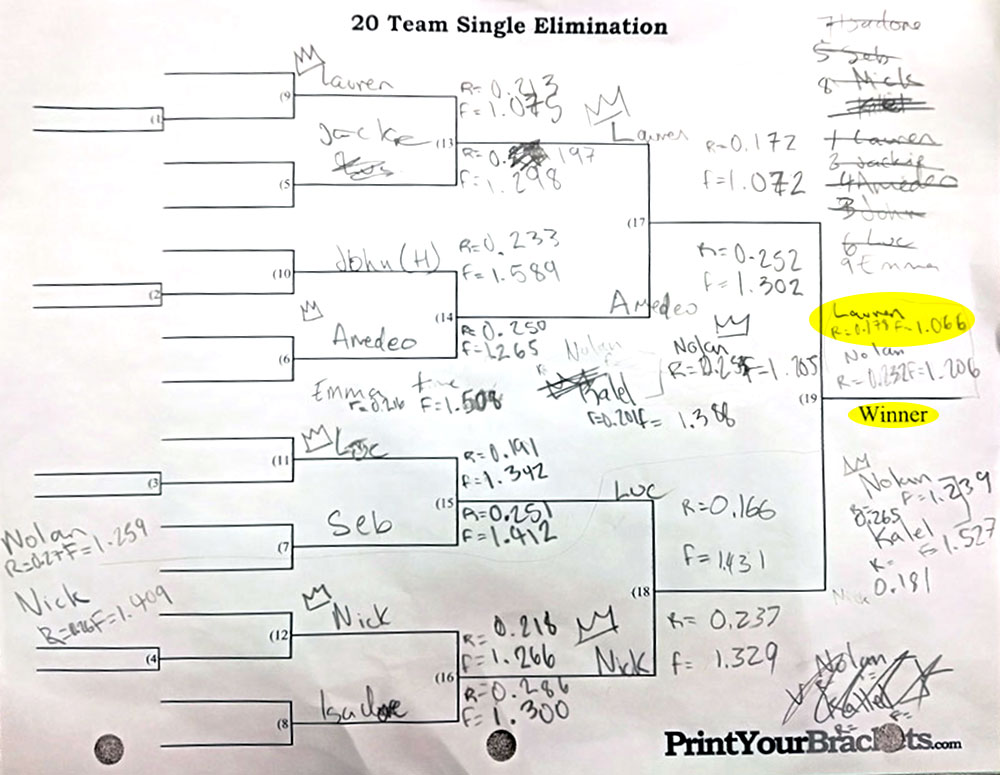
Standings
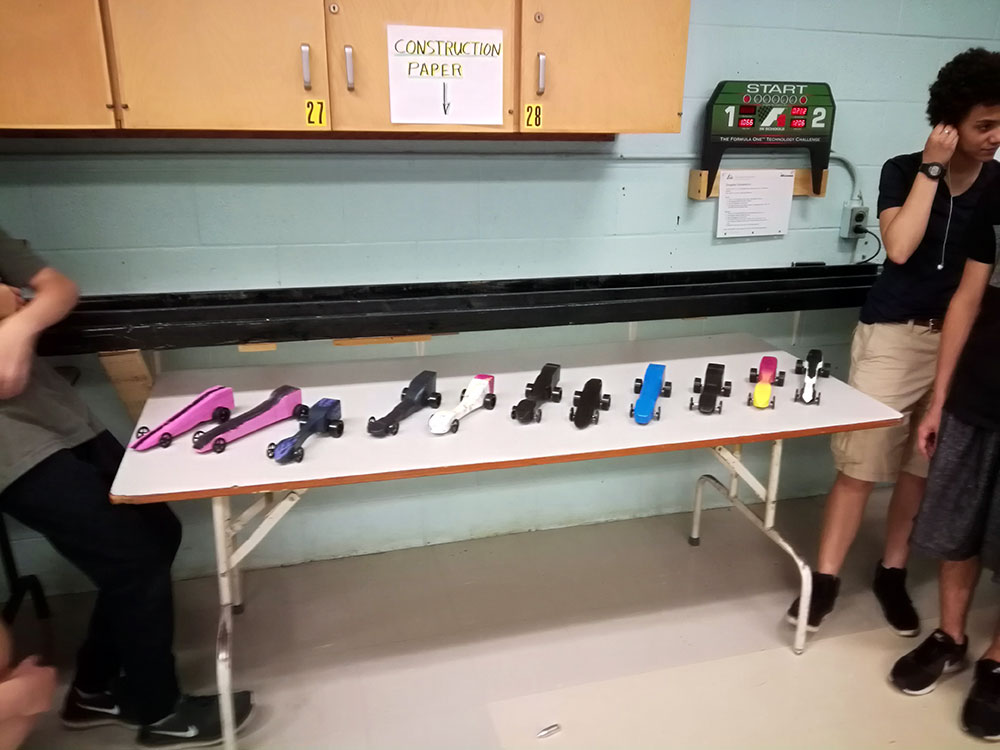
Dragsters
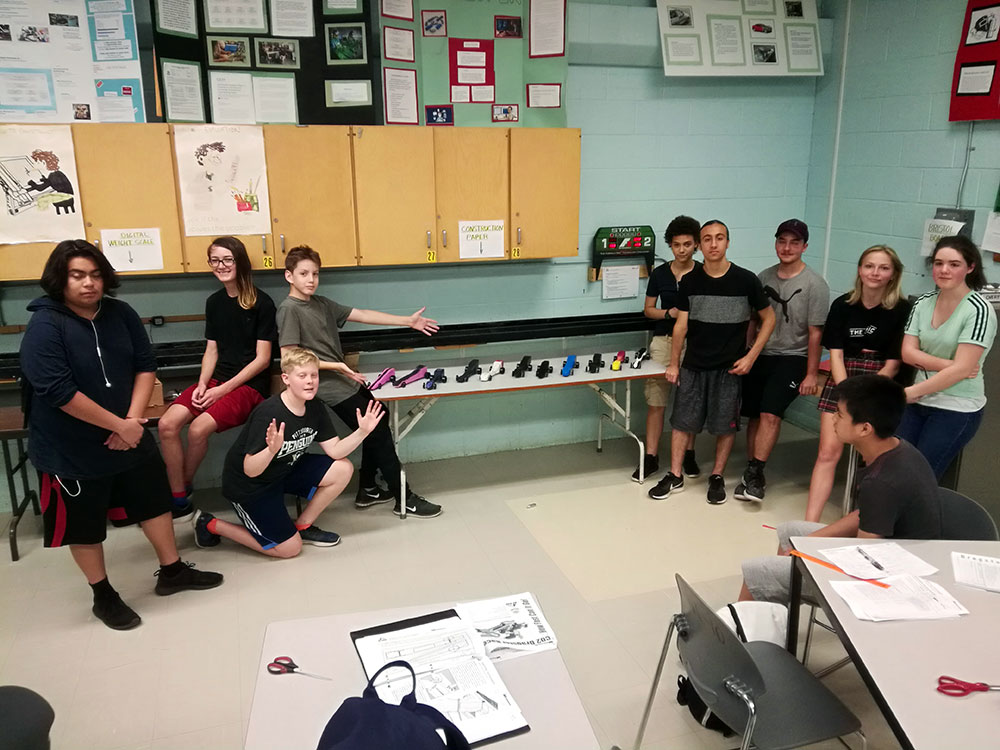
Racers
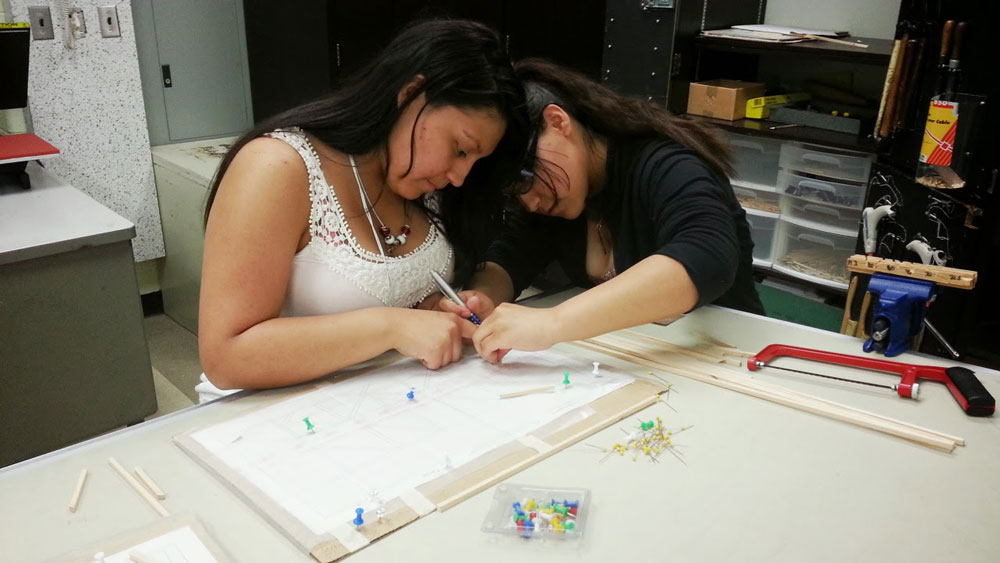
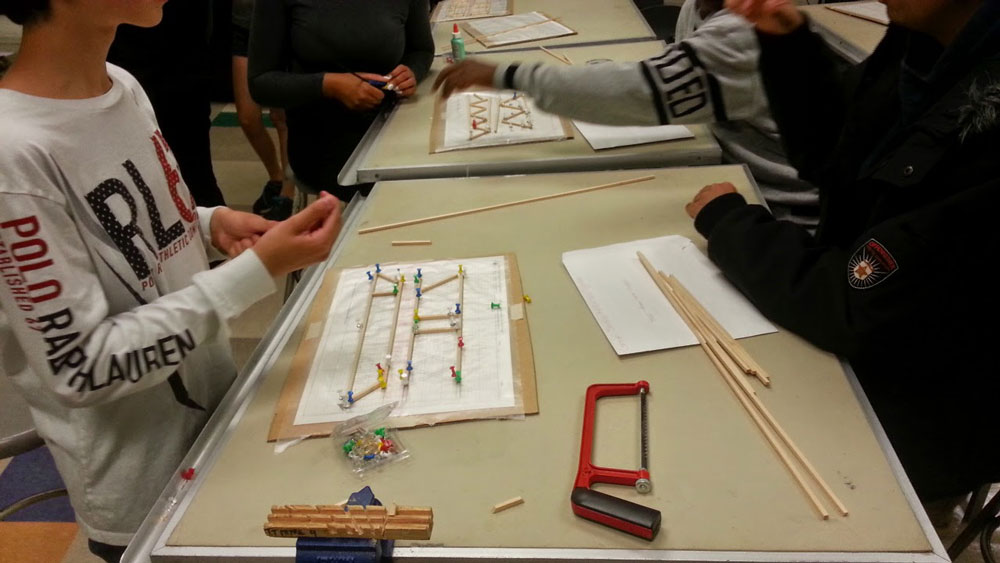
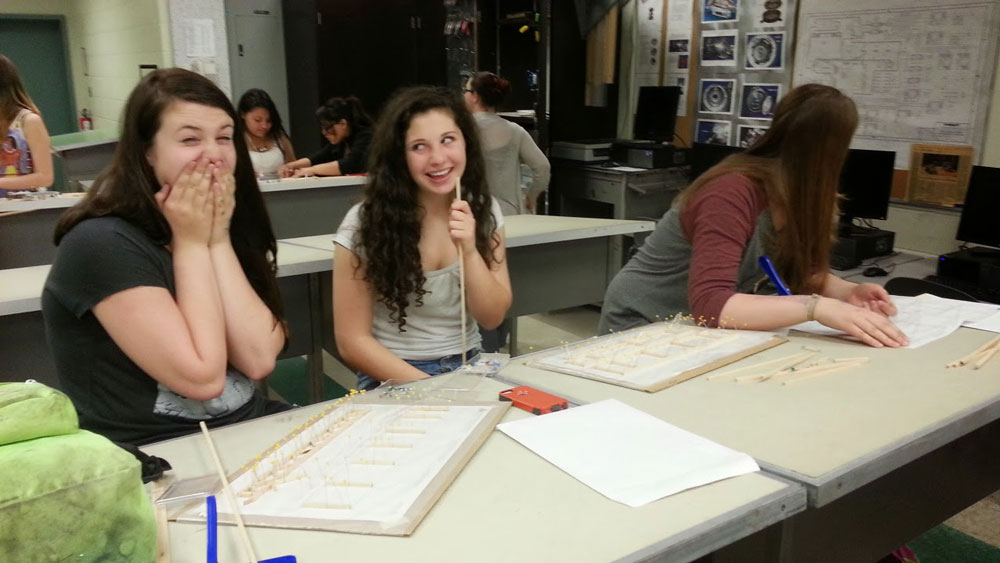
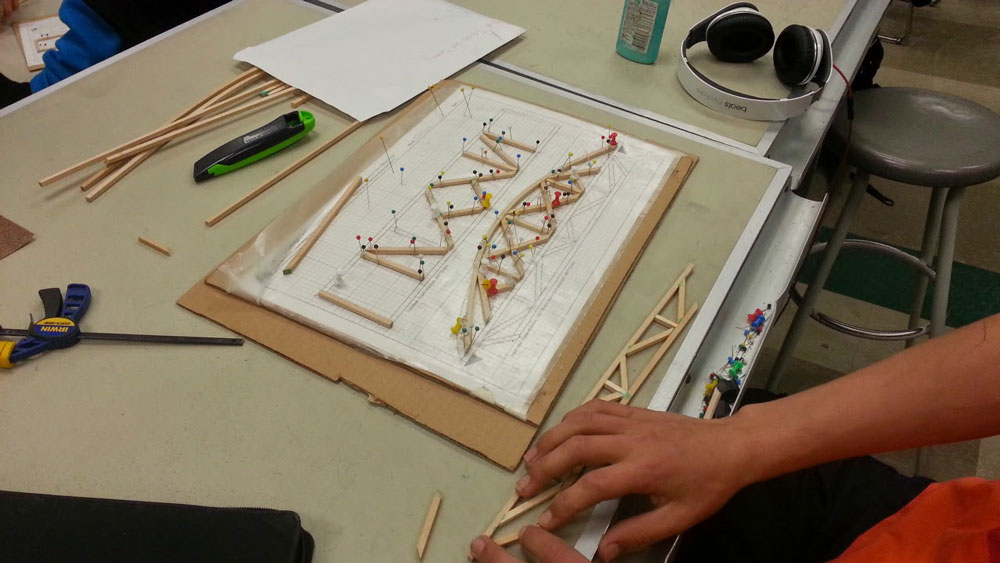
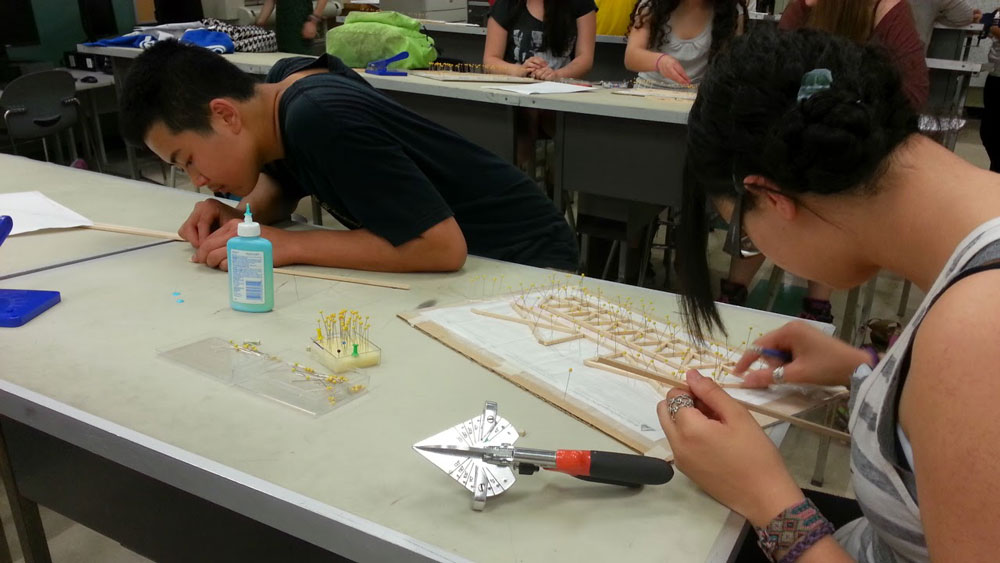
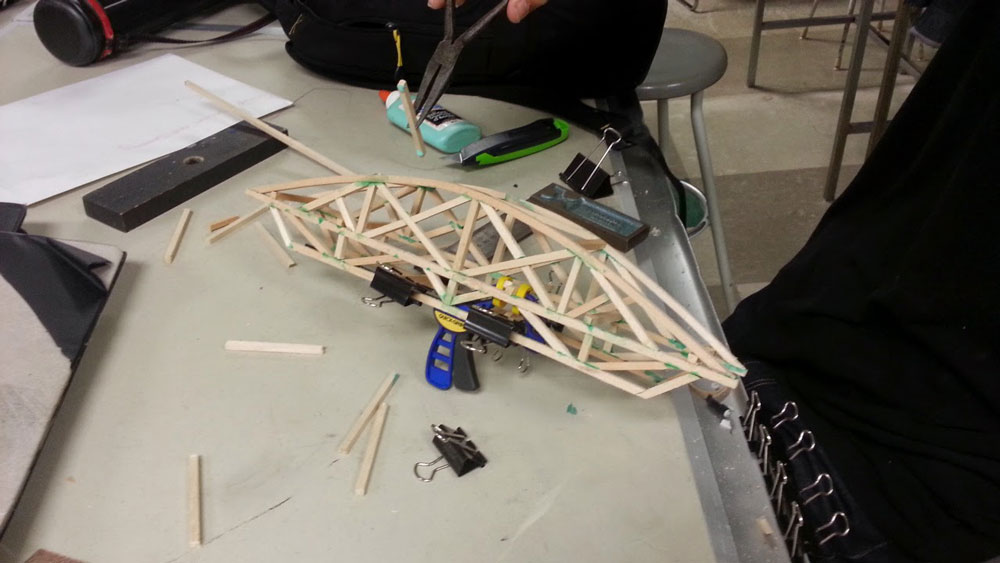
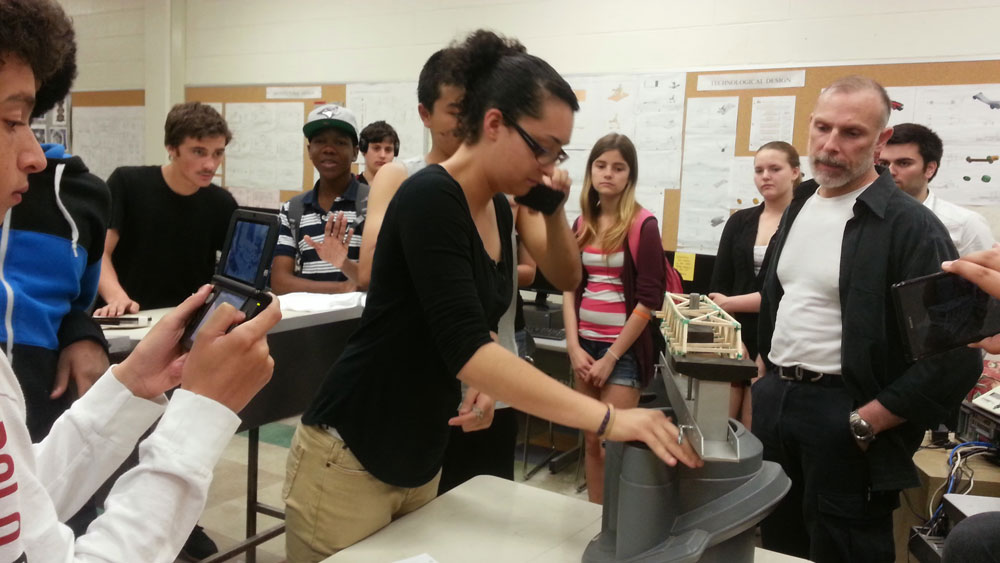
Bridge Building in Action
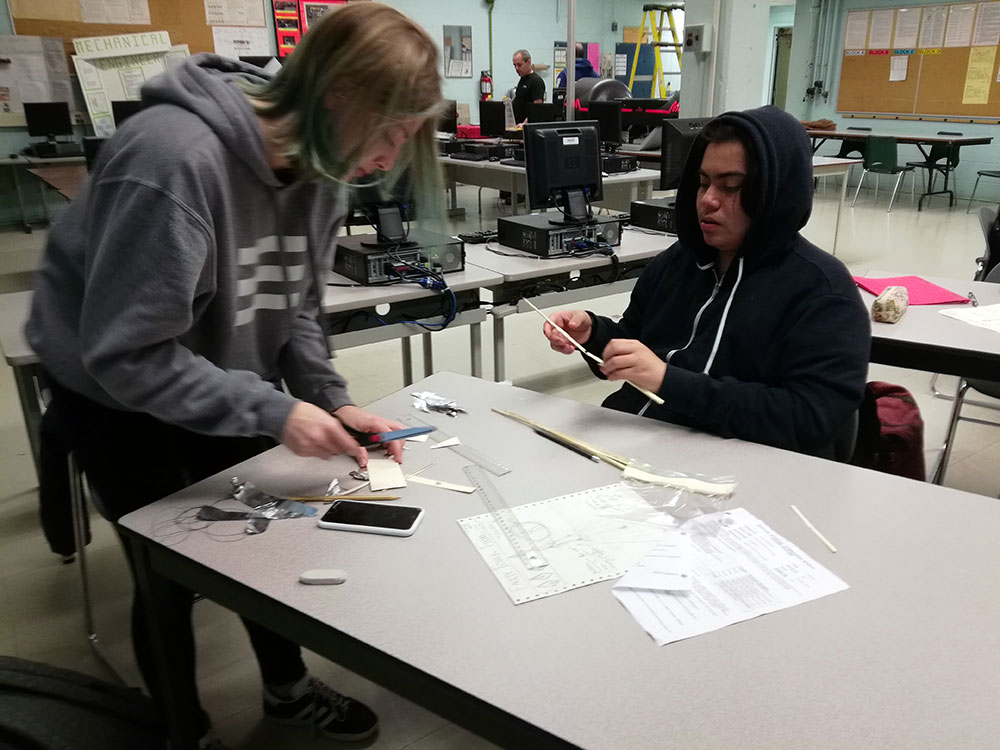
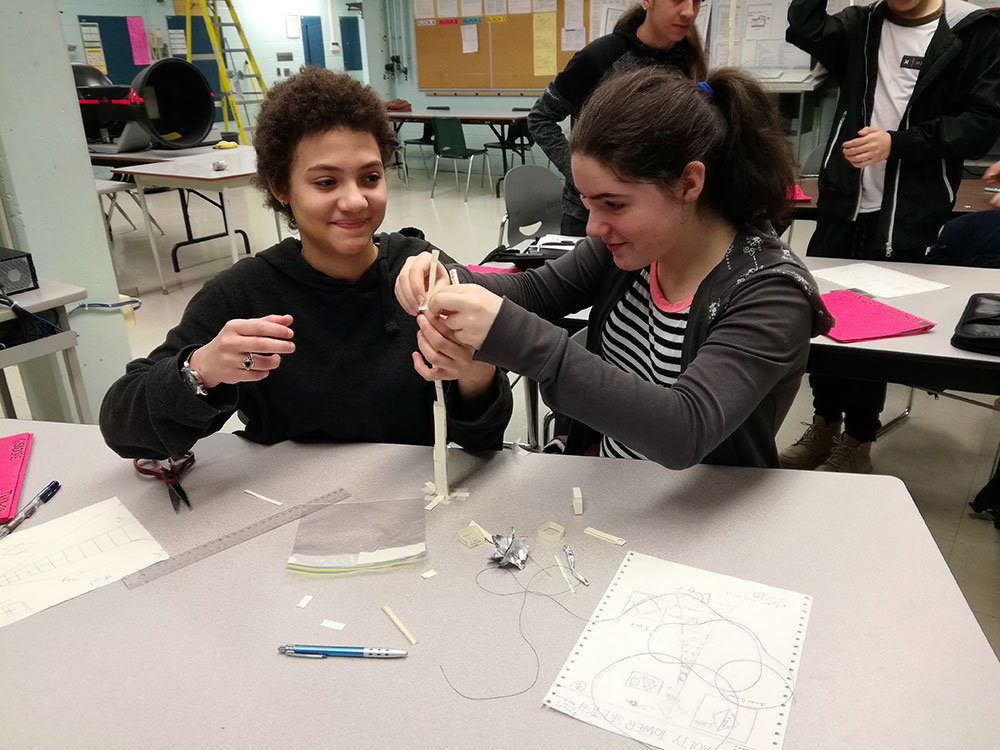
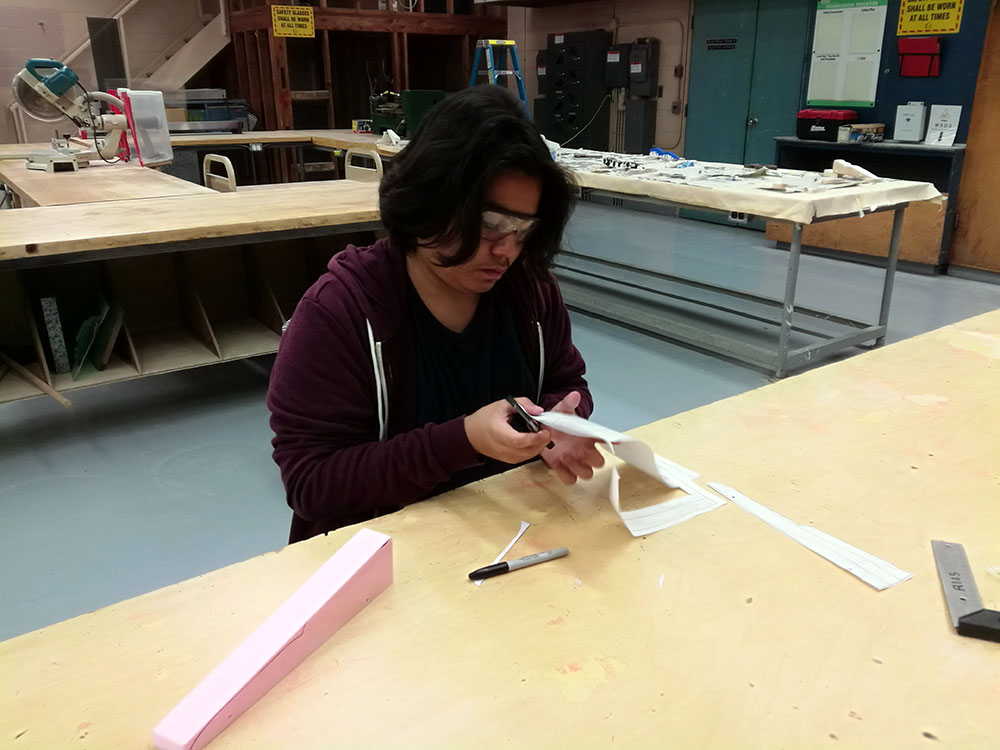
Bridge design, build, and test was first started by researching what makes a great bridge, then sketching ideas, next draw it on Illustrator to scale, then then print the bridge design on paper and use that design to cut and glue 5 mm by 5 mm bass wood pieces to make their bridge. Once built and tested, an evaluation was completed and their illustrated design was transferred on to a Western T-shirt as a souvenir to take home with them. Destructive testing followed using a progressive weight to centre of bridge span to see how much it could hold.
Bridge Building Process
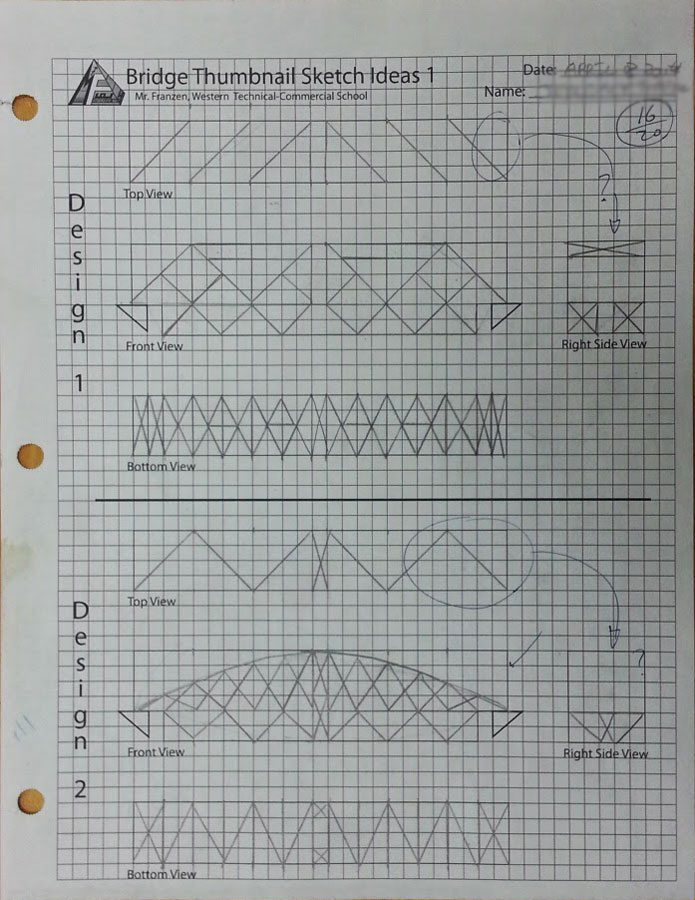
Bridge Sketches 1
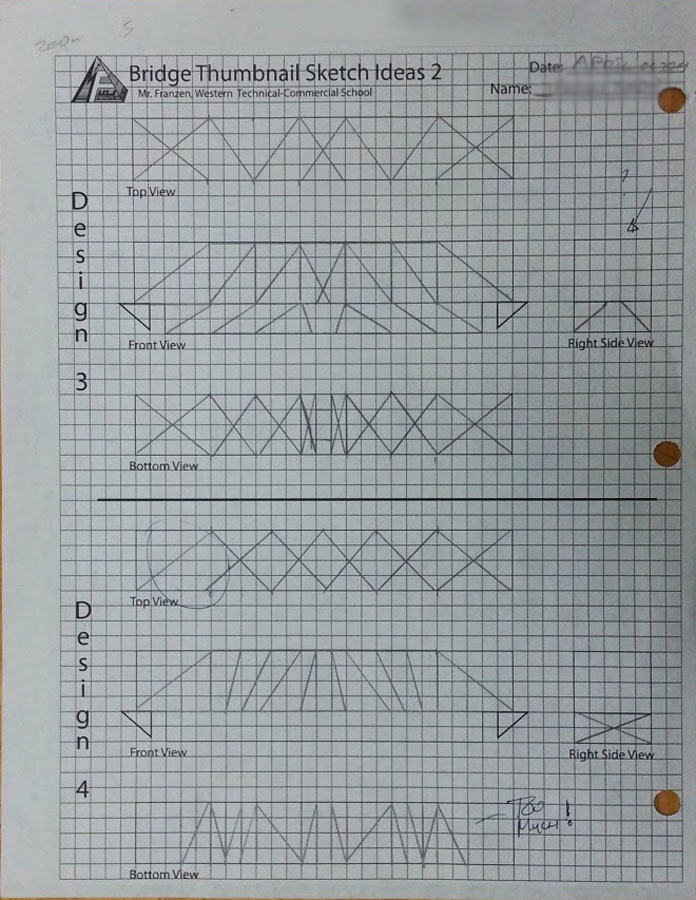
Bridge Sketches 2
Cutting Pieces
Placing Cut Pieces
Fun Stuff
Placing and Fitting
Gluing
Final Construction
Destructive Testing
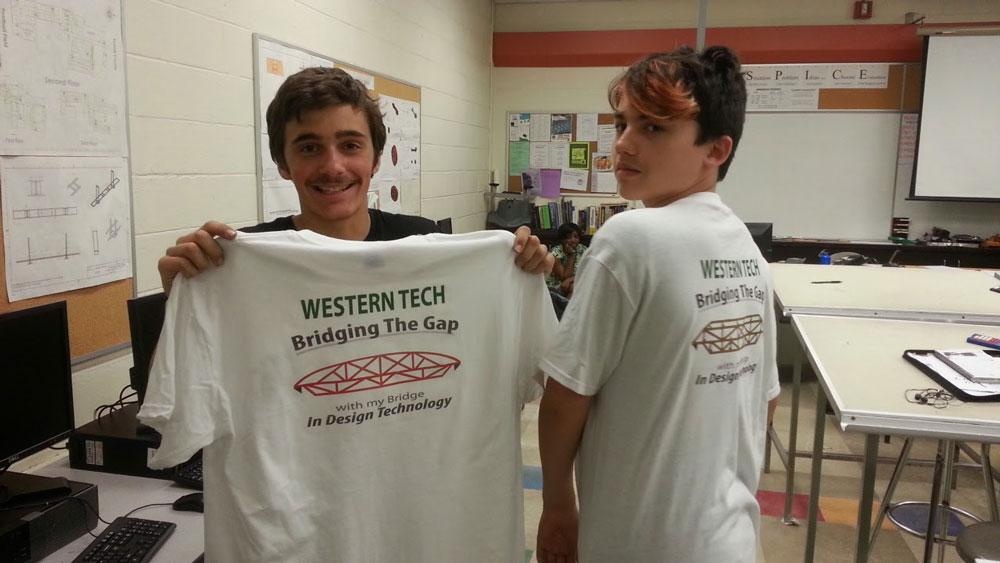
Design on T-Shirt
© 2012-19 - M Franzen Links:
HOME
Back up to Top
![]()